Mastering E003 Troubleshooting: The Ultimate Guide to Fixing Tankless Water Heater Failures
Mastering E003 Troubleshooting: The Ultimate Guide to Fixing Tankless Water Heater Failures
When your home’s hot water suddenly coughs or stops—no more warm showers, no more hot cups. A tankless water heater, celebrated for energy efficiency and instant supply, can become the source of frustration when code E003 triggers. This specific fault—indicating a failure in temperature sensing or control signal integrity—represents a common yet correctable issue across thousands of triggering systems.
Understanding the root causes and applying precise troubleshooting steps can restore performance, prevent costly breakdowns, and prolong equipment life. Below, an authoritative breakdown of E003, its diagnostics, and proven solutions.
Decoding E003: What the Code Really Means
The E003 diagnostic code on most modern tankless water heaters signifies a "Temperature Sensor Malfunction." At its core, this failure disrupts the unit’s ability to monitor and regulate water temperature accurately.The system relies on precise sensor input—typically two: one near the heat exchanger and one at the inlet—to validate safe, efficient operation. When E003 activates, it indicates either a broken sensor, a faulty signal transmission between components, or an internal logic fault that prevents the controller from receiving valid thermal data. > “E003 isn’t just a code—it’s the system’s way of saying it can’t trust the temperature readings it’s receiving,” notes certified HVAC technician James Markham.
“Without accurate sensing, the entire control sequence grinds to a halt.” E003 often lies behind root causes such as sensor corrosion, electrical connection degradation, firmware misalignment, or even physical damage from thermal cycling or improper installation. Recognizing these triggers is essential before applying any fix.
Immediate Diagnostic Steps: Is Your Unit Faulted at E003?
Before replacing components, systematic troubleshooting identifies whether E003 stems from a real fault or a false signal.Follow this checklist to validate the issue: - **Check display confirmation**: Verify the error code appears on the unit’s interface—just mentioning E003 confirms the trigger. - **Inspect power and controls**: Ensure the heater is receiving 240V supply (typically 30–60 amps) and check for loose connections at the terminal board. - **Test sensor continuity**: Using a multimeter, measure resistance across the temperature sensor terminals.
A reading of infinite resistance indicates a failure. - **Review flow sensor functionality**: Many tankless units pair dual sensors—test the inlet/outlet flow sensor for proper voltage output. - **Scan for firmware updates**: Manufacturing firmware sometimes contains fixes for known E003 triggers; consult the unit’s service guide.
> “A lit E003 with no power issues isn’t always fixable by replacing—first verify sensor health,” advises Markham. “Sometimes the problem is as simple as a corroded junction.” These steps narrow down the failure scope, preventing premature part swaps and saving time and money.
Top Causes Behind E003—and How to Fix Them
The malfunction evident in E003 rarely appears without cause.Examining common failure patterns reveals targeted solutions:
Confirm the pump runs, test flow sensor continuity, and verify inlet/outlet resistance.
Step-by-Step Troubleshooting: From Diagnosis to Resolution
For technicians and advanced homeowners, a structured approach minimizes guesswork and accelerates repair.1. **Confirm the fault visually**: Check for fault lights, unusual odors, or cold water spouts. Listen for unusual pump operation or rattling, indicating mechanical or electrical stress.
2. **Secure power and isolate variables**: Shut off the unit at the circuit breaker, then isolate sensors and wiring for safe testing. Keep spare sensors and a multimeter performant.
3. **Test sensor resistance and continuity**: Apply 5–10 volts (never exceed rated specs) across sensor terminals. No consistent resistance signals failure.
4. **Validate flow and power at each sensor**: Use a voltage tester on the flow sensor line—consistent 5–12V during operation confirms function. Check power at sensor junctions with a discrete multimeter.
5. **Review system logs (if applicable)**: In smart systems, error histories often trace recurring intuition—document patterns for manufacturer support. 6.
**Replace only confirmed faults**: Swap one component at a time—reconnect after each test to isolate the cause. 7. **Record fixes and monitor performance**: Note parts replaced and verify stable operation over 48 hours.
This methodical path reduces downtime and ensures accurate, repeatable results.
Preventive Maintenance: Avoid Future E003 Hijacks
Proactive care is the best defense against recurring E003 failures. Key maintenance actions include: - **Annual professional inspection**: Certified technicians can detect early corrosion, loose connections, or control drift before E003 alerts occur.- **Install a water quality assessment system**: Reducing scale buildup protects internal sensors and heat exchangers—especially in hard-water zones. - **Secure wiring with anti-vibration mounts**: Minimize signal loss from physical movement in mechanical enclosures. - **Program regular firmware checks**: Many brands release updates addressing known logic faults—schedule timely upgrades.
- **Inspect oxygen sensors (if dual-sensor)**: Aging SHT sensors may lose calibration; replace per manufacturer timelines. “Prevention isn’t just cost-saving—it’s about avoiding the stress of sudden failure during peak usage,” says plumbing expert Laura Chen. “A few minutes monthly can prevent days of inconvenience.”
When to Call a Professional: Knowing the Limits of Do-It-Yourself
While most E003 issues respond to basic troubleshooting, certain scenarios demand expert intervention.Complex wiring conflicts, control module infections, or physical damage inside sealed heat exchangers often exceed DIY capabilities. Signs a technician is needed: - The unit exhibits erratic cycling without clear sensor faults. - Sensors contain irreparable physical damage (e.g., melted probes, cracked bodies).
- Flow sensor data is inconsistent or impossible to read with basic meters. - Firmware updates fail or trigger new error codes. Engaging a licensed HVAC technician ensures safety, prevents damage from improper handling, and verifies a permanent fix—critical for systems costing several thousand dollars.
True Resolution: Beyond Repairing E003 to Restoring Confidence
The E003 code, though technical, follows a clear path: diagnose systematically, address root causes with precision, and implement safeguards to prevent recurrence. By understanding the temperature sensor’s vital role and following structured troubleshooting, homeowners and technicians alike can transform a frustrating fault into a manageable fix. With proper care, modern tankless water heaters prove not just efficient and invisible—though silent—remain dependable stewards of comfort, even under the most demanding conditions.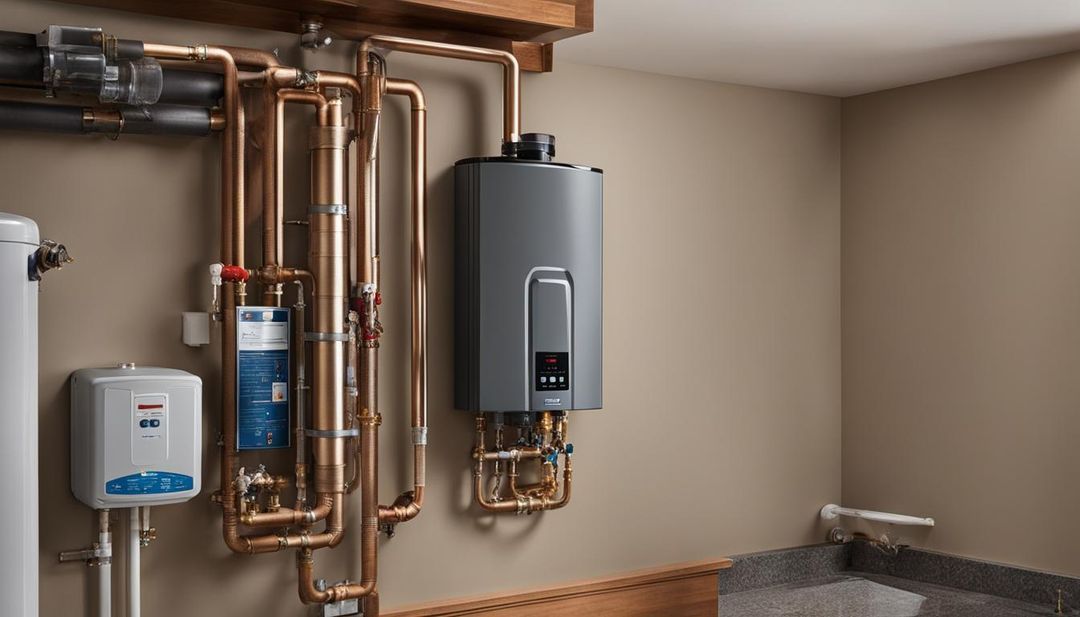


Related Post

A Glimpse Into The Life Of Hugh Jackmans Daughter

Harnessing Acute Angle A: The Foundational Pillar of Precision Geometry
Decoding Ca Cbc: A Deep Dive into California's Crucial Cannabis Business Compliance

Unveiling New Insights and Discoveries: Pushing the Frontiers of Science and Human Knowledge