How to Create a New Apple ID: The Complete Guide You Need to Master
How to Create a New Apple ID: The Complete Guide You Need to Master
Setting up or renewing your Apple ID unlocks a world of seamless digital integration across Apple’s ecosystem—from iPhones and iPads to Macs, iCloud, and beyond. Whether you’re acquiring your first Apple ID, reactivating an old one, or migrating from a third-party account, understanding the process is essential for security, convenience, and full access. This comprehensive guide walks you step-by-step through creating a new Apple ID safely and efficiently, covering verification protocols, account benefits, and troubleshooting tips to ensure a smooth experience every time.
The modern Apple ID isn’t just an email and password—it’s your digital identity across Apple’s vast platform. As Apple continues to enhance privacy features and personalization, holding a valid, active Apple ID becomes increasingly important for protection and service access. This guide demystifies the steps, emphasizing best practices for secure setup while addressing common pitfalls users face during creation.
At the heart of the Apple ID creation process lies authenticity and security. Apple’s stringent verification procedures ensure that accounts remain protected, but they can also introduce complexity. Understanding each stage—from account creation to icon activation—helps users navigate smoothly.
"Your Apple ID is your gateway to iCloud, Apple Music, iMessage, and a unified experience across devices," notes a top analyst at TechInsights, highlighting the ID’s central role in Apple’s ecosystem. Without a properly set up or verified Apple ID, users risk losing access to critical features and cloud-backed data.
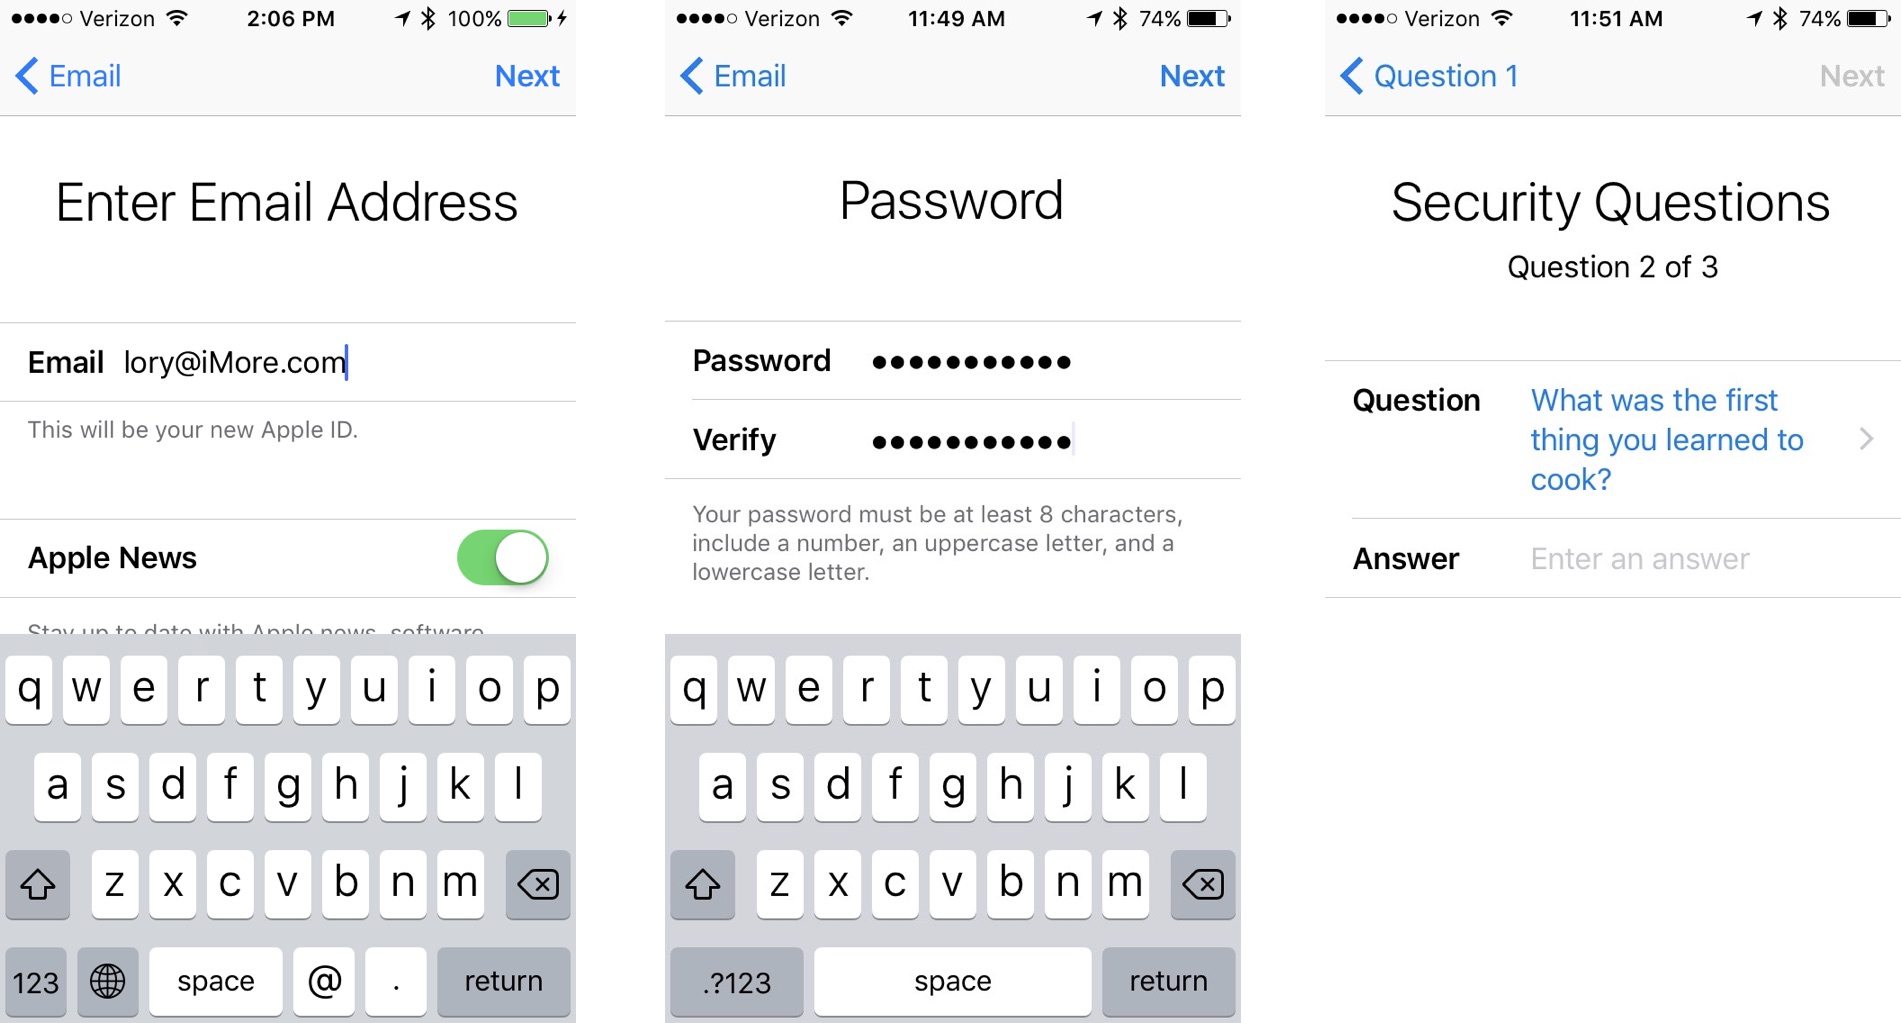
Step 1: Prepare Required Information Before Starting
Before launching the Apple ID setup, gather essential details to avoid delays. Apple requires: - A valid email address or phone number—used to verify identity and recover account access.- A secure password compliant with Apple’s encryption standards (minimum eight characters, mixing letters, numbers, and symbols). - A trustworthy mobile device capable of receiving verification codes via SMS or App authentication. - Information about your current Apple devices for identity verification (optional but helpful).
“Being prepared saves time and prevents frustration,” advises Apple’s customer support guidelines. Having your email and phone number readily available ensures you can validate your identity promptly, a key factor during account creation, especially for new users or those switching from another provider.
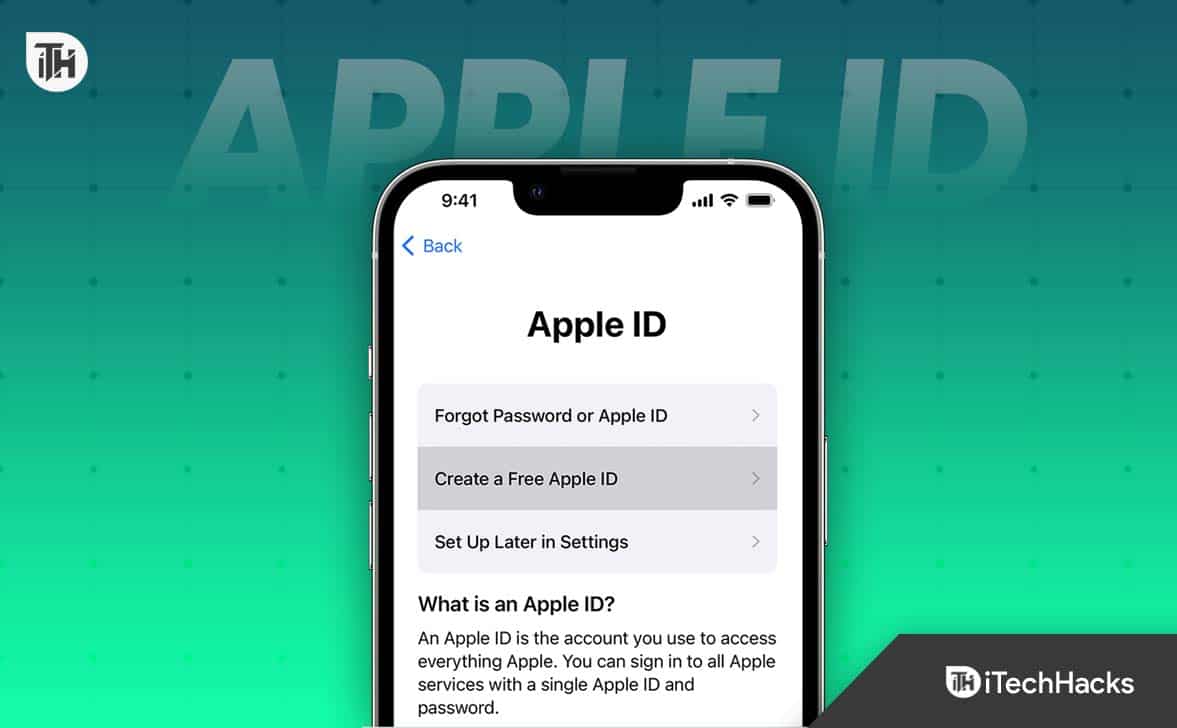
Set in motion by launching the app or visiting Apple’s setup page, start by selecting “Create Apple ID.” The system will prompt for either a new email address or existing Apple account credentials.
Choosing a unique, memorable email helps maintain account integrity and ensures future communications are delivered reliably.
Step 2: Verify Identity Using Apple’s Secure Methods
Verification is the cornerstone of Apple ID creation, designed to protect users from impersonation and fraud. Apple employs multiple verification pathways depending on your setup: - **Email Confirmation:** Enter your complete Apple-verified email address. A six-digit code arrives via SMTP; enter it to confirm ownership.- **Phone Number Verification:** Choose a phone number with two-factor verification enabled. A one-time code is sent via SMS or iCloud Messages; enter this in the app to confirm your mobile identity. - **Authenticator App Integration:** For enhanced security, users can link an authenticator app (like Apple’s built-in or third-party apps) to receive time-based codes during login and registration.
Apple stresses that verification protects user data and ensures compliance with global privacy laws. “Identity verification is not optional—it’s a fundamental safeguard,” affirms Apple’s security documentation. Entering either verification method timely ensures your account gains full authentication, blocking unauthorized access from day one.
Amid growing cyber threats, this rigorous process remains indispensable. The multi-layered verification supports Apple’s zero-trust philosophy, reinforcing user trust and system integrity comprehensively.
Step 3: Set a Strong, Memorable Apple ID Password
Creating a secure password is critical to protecting your Apple ID from breaches.Apple recommends a combination of upper and lowercase letters, numbers, and special characters—at least eight characters long—but avoids excessive complexity that might hinder usability. Consider these best practices: - Avoid easily guessable details like birthdays or sequential numbers. - Use a passphrase—such as “SunnyCoast2024!”—that combines memory and strength.
- Store credentials securely using a dedicated password manager, ensuring you don’t overextend your memory while maintaining ideal security. Apple’s guidelines emphasize that compromised credentials are a leading cause of account takeovers. A well-crafted password acts as a digital fortress, making unauthorized access exponentially harder.
“Your Apple ID password is your first defense,” advises cybersecurity expert Sarah Chen, “and the strongest passwords can withstand brute-force attacks when properly constructed.”
Once verification is complete, set a unique, unshared password. Avoid reusing credentials across platforms, as this increases vulnerability. Apple’s built-in Key Retriever can securely store and auto-fill passwords, streamlining access without sacrificing safety.
Step 4: Activate Your Apple ID Across Devices
After password creation, activate your Apple ID on all intended Apple devices.On iOS and macOS, this means signing in during setup or via Settings > Apple ID. The activation process verifies your identity one final time and links your account to iCloud, enabling seamless sync of data, photos, notes, and more. Mounting Apple devices automatically prompts you to sign in, allowing instant activation.
For legacy devices, manual activation may involve entering your Wireless ID or recovery key—info stored during original setup. Apple ensures these steps prevent unauthorized activation while enabling legitimate users to transition smoothly. “This activation step transforms a raw account into a personalized, actionable identity,” says David Kim, a tech professional specializing in Apple ecosystems.
“It’s where your Apple ID evolves from a concept into a living, functional digital profile.” Once activated, configure custom settings like privacy preferences, notification controls, and apps to tailor your experience. Enable features such as iCloud Photo Library and Find My iPhone, ensuring your data remains accessible and protected across your Apple ecosystem.
Troubleshooting Common Issues During Creation
Even experienced users occasionally face hurdles when establishing a new Apple ID.Minor roadblocks often stem from outdated verification data, SMS delivery delays, or forgotten recovery contacts. Apple provides clear guidance for resolving each: - **Verification Failure:** If receiving codes fails, check email spam folders, confirm phone number status, or use alternative recovery methods. - **Account Recovery Problems:** For locked accounts, Apple’s Access Helper guides users through identity verification steps, including answering security questions and using trusted contacts.
- **Legacy ID Conflicts:** Users transitioning from older Apple IDs must use the correct Wireless ID or recovery key—often available via Apple’s account recovery portal
:max_bytes(150000):strip_icc()/003-how-to-create-apple-id-1999801-d4b55696045b4c249955fc15955ba8ff.jpg)
Related Post

Master the Phasmophobia Survival Guide: Essential Cheatsheet for Hunting Ghosts in the Dark

What Is a Nanogram? The Unit That Powers Precision in Science

The Inspiring Husband Behind Richard Armitage’s Compassionate Legacy
Unveiling the Truth Behind Tristyn Bailey: A Deep Dive into the Full Story Investigation Details >>


