How to Connect Your Roku Remote to Your TV in Seconds – Effortless Setup for Seamless Streaming
How to Connect Your Roku Remote to Your TV in Seconds – Effortless Setup for Seamless Streaming
Reliable control is the backbone of any smart home experience, and connecting your Roku remote to your TV with precision ensures every command executes flawlessly. Whether you’re navigating streaming apps, adjusting playback, or managing voice commands, having a secure, responsive link between your Roku remote and television is essential—one that minimizes frustration and maximizes real-time interaction. This guide delivers a step-by-step blueprint for connecting your Roku remote to your TV, covering different TV types, troubleshooting common hiccups, and best practices to maintain connection integrity.
Setting up your Roku remote begins with understanding your TV’s interface—microLED, OLED, QLED, or a traditional LCD—since connection methods may vary slightly across models. Most modern TVs support infrared (IR) remotes directly, but Wi-Fi or Bluetooth pairing offers added flexibility, especially in newer Roku-enabled models with newer connectivities. The core principle remains consistent: ensuring your remote’s IR signal or wireless signal reaches the TV’s receiver unit unobstructed, synchronized, and responsive.
Step-by-Step Guide: Physically Connecting Your Roku Remote
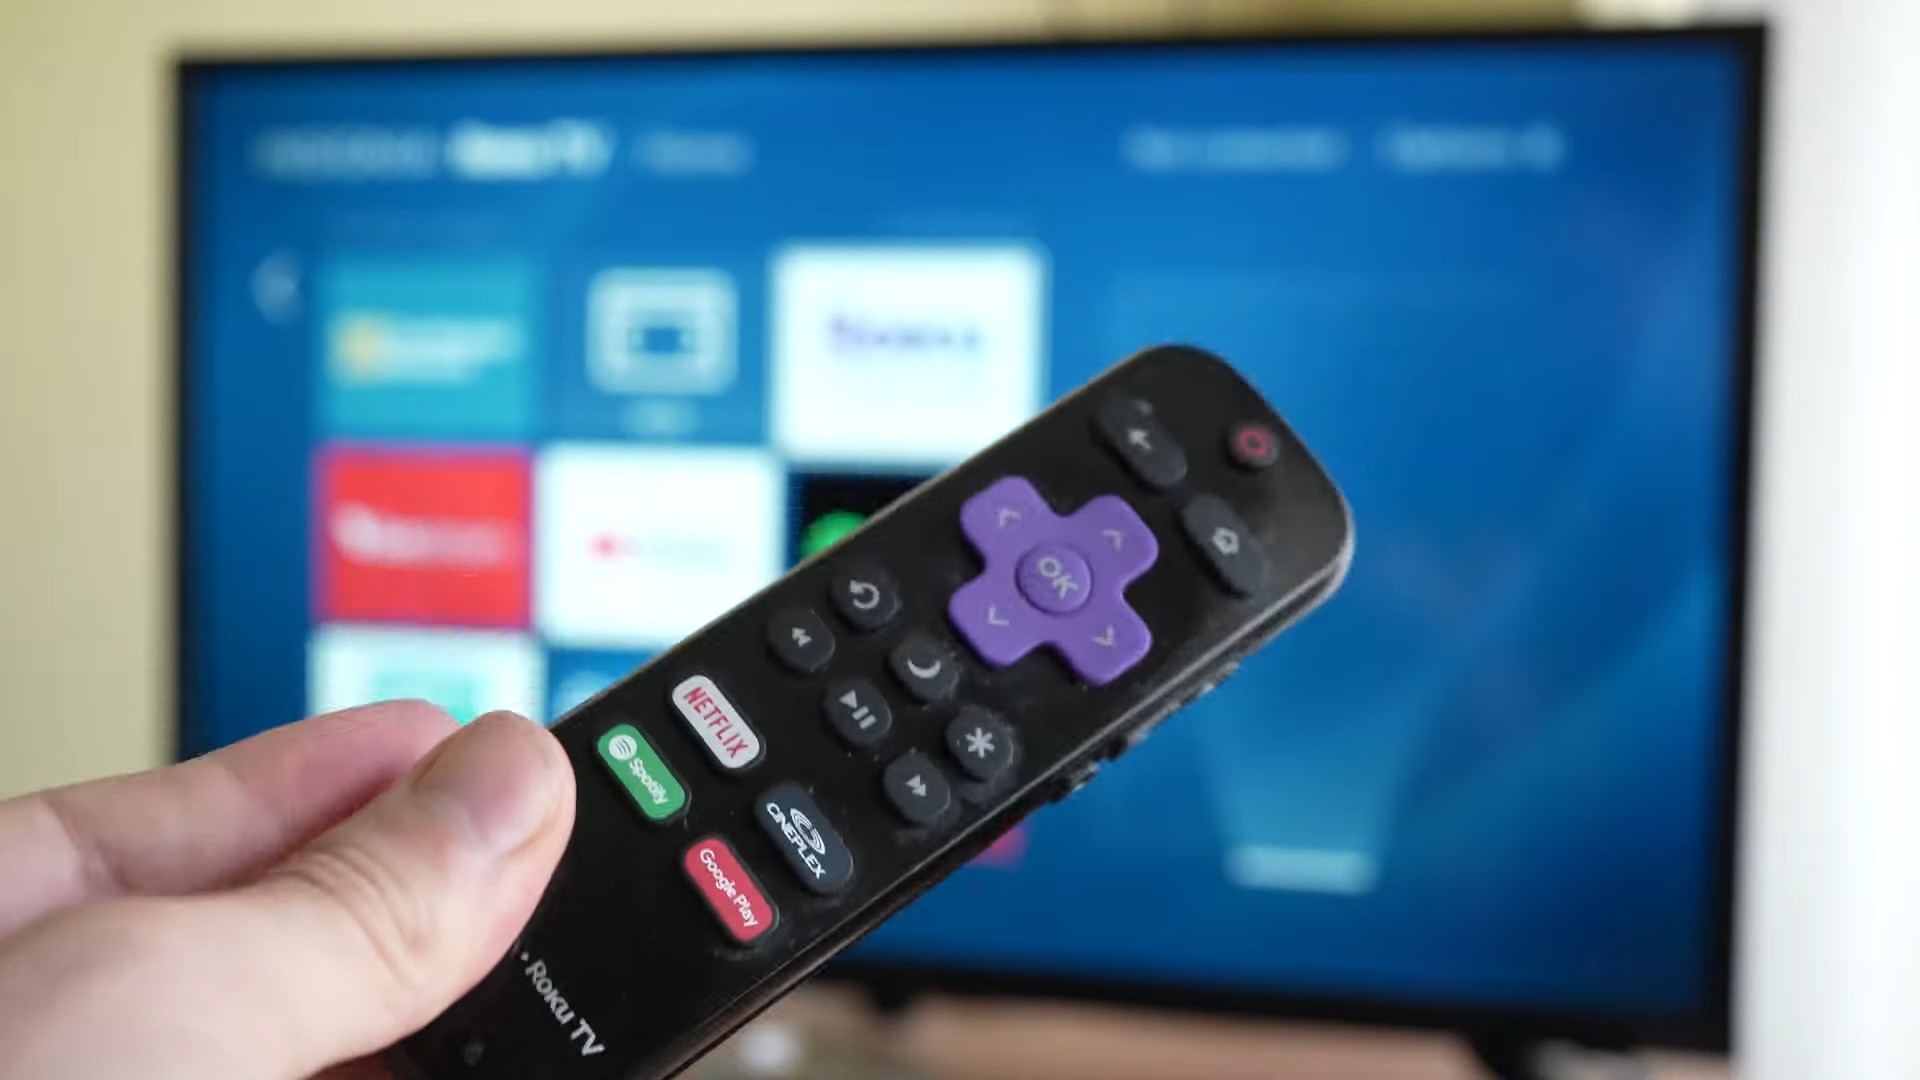
While many Roku remotes use infrared, physical or wireless pairing still plays a role in ensuring reliable operation, especially when building a stable unit-user relationship.Begin by powering on both your Roku remote and TV to factory settings—no pairing codes required unless switching devices. With the TV powered, aim the remote’s IR beam directly at the receiver panel, typically a small port often located on the back, side, or base of the TV. For wall-mounted or in-cabinet displays, positioning may require adjustment under support brackets or near the TV’s edge.
If the initial scan fails to detect the remote, check three critical factors:
- Line of Sight: IR signals travel best in direct, unbroken lines—avoid covering the remote’s lens or blocking it with objects.
- Positioning: Some TVs shield receiver ports behind panels; verify the port is accessible, not obscured by wall plates or mounts.
- Power Status: A low battery might reduce signal strength—replace batteries if needed, ensuring the remote runs on fresh power.
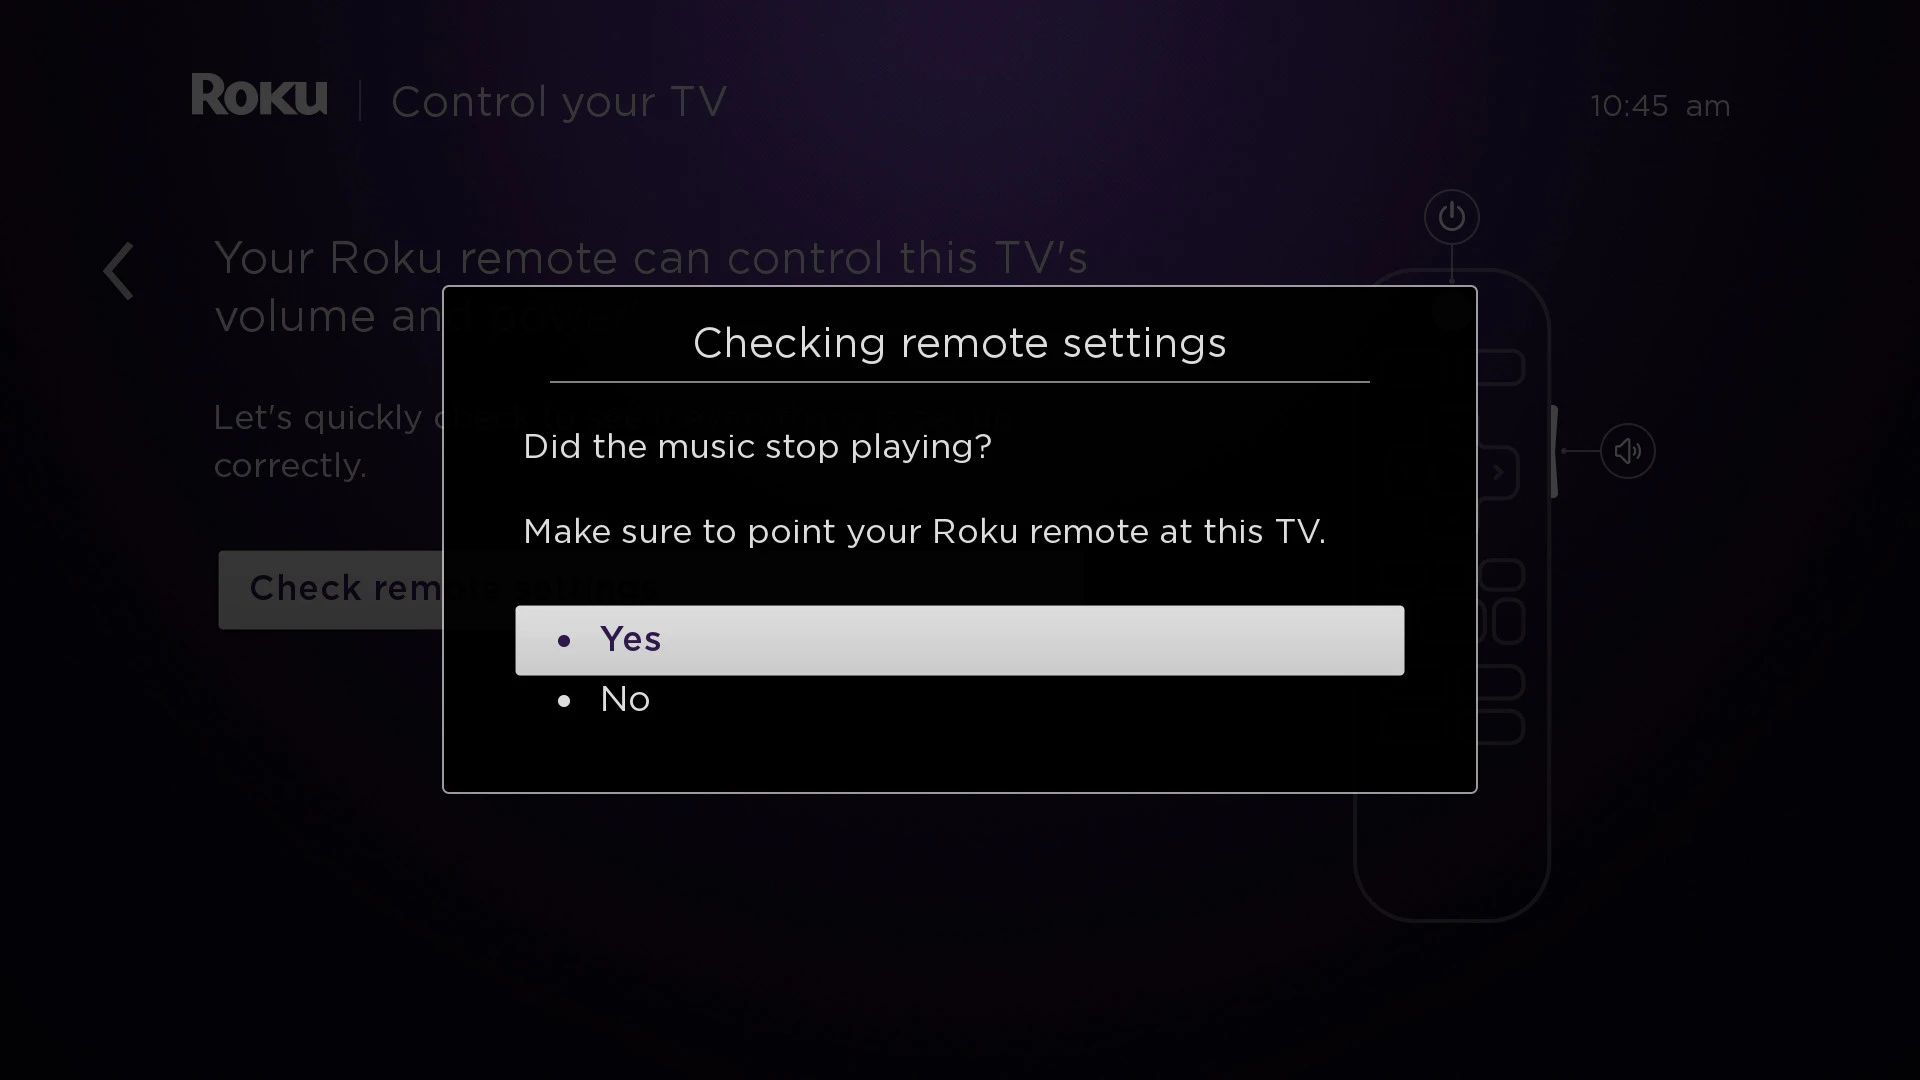
Modern Roku remotes often incorporate Bluetooth or Wi-Fi for enhanced integration beyond basic IR control. These wireless protocols expand functionality—like remote access from other devices, voice assistant sync, and firmware updates—but are optional for core IR-based operation. If your device supports Bluetooth pairing, use your TV’s settings menu to enable the remote’s Bluetooth mode, then pair within the app.
Once connected, the remote gains extended control rights, including voice command calibration and gesture support in select models.
Optimizing Signal Strength and Range
Even when aligned correctly, interference and distance can weaken the remote’s signal. Unlike universal IR remotes, Roku remotes may use proprietary modulation tailored to specific TV models. To reinforce connectivity: - Keep the remote within 15 to 20 feet of the TV.Beyond this radius, signal degradation increases, particularly in homes with thick walls or metal layouts. - Avoid placing the TV near routers, smart speakers, or other IR-emitting devices that generate signal noise—Bluetooth speakers, smart bulbs, and remote controls from adjacent units can disrupt precision. - Remotes placed inside cabinets or behind furniture often struggle with line-of-sight.
If possible, mount or position the remote closer—mounted on a console or mounted above the unit—ensuring an unobstructed path to the receiver. For consistent responsiveness, periodically recalibrate the link: some manufacturers recommend pairing every 6–12 months to prevent sensor drift, especially after firmware updates or extended storage off the TV.
TV manufacturers frequently refine their IR receiver hardware across model generations.
Newer models may support dual-band IR—combining traditional pulsed signals with steady LED waves—improving compatibility with Roku remotes designed to detect both. Check your TV’s user manual for model-specific pairing instructions, including recommended beam alignment and pairing frequency.
Troubleshooting Common Connection Issues
Despite careful setup, connection failures can occur. Recognizing and addressing these issues swiftly restores usability:- No Respond:** If the remote fails to trigger playback or voice commands, first ensure batteries are charged.
Replace them with high-quality, manufacturer-approved units—low voltage signals often degrade IR output. Reset the remote if critical updates were installed; a factory reset via button sequence restores default settings, clearing interference. Check TV receiver alignment—some units require tilting the remote slightly upward or downward for optimal detection.
If errors persist, consult Roku’s support or TV manufacturer for model-specific reset or repair guidance.
- Intermittent Control:** Freaky connectivity—where commands occasionally fail—may stem from ambient light, sonic interference, or outdated firmware. Use LED dash indicators on remote and TV to verify signal presence. Update both device firmware via the TV’s settings or Roku app; outdated software can cause protocol mismatches.
Relocate remotes to avoid noise sources like microwave ovens or wireless phones operating nearby.
- Pairing Fails:** Occasional pairing errors are normal during initial setup but recurring issues demand a fresh start. Power both devices off, remove all remotes, wait 30 seconds, then re-initiate pairing. Ensure batteries are fully charged and ports clean—dust or corrosion may block IR reception.
For reinforced stability, test pairing with a different IR receiver port or verify the TV’s IR sensor is unobstructed.
Best Practices for Long-Term Maintenance
Maintaining a dependable Roku remote connection requires routine care. Store the remote in a padded case with a clear IR window to protect the beam path. Use protective covers or mounts in high-traffic areas to prevent tooth-nagging damage to the lens.For extended standby periods—such as seasonal use—check battery levels monthly and replace as needed to prevent sudden dead zones. Modern smart environments demand adaptive control: pairing your remote with voice assistants like Alexa or Home Assistant enhances usability, letting commands transcend physical limits. Enable voice control within your TV’s settings, and sync your Roku remote for hands-free operation—ideal for multitasking or hands-busy scenarios.
As streaming demands grow, so does the need for steady, responsive remote control. By mastering the integration of your Roku remote with your TV—via IR signaling, wireless pairing, and smart maintenance—you ensure seamless navigation through entertainment ecosystems. With these actionable steps, connect, recalibrate, and master command control and enjoy a frictionless streaming experience, wherever or whenever.
Related Post

The Resilience Behind Ted Cruz’s Marriage: Insights into the Life of Andrea spicer Cruz
Jesse Sullivan Age Wiki Net worth Bio Height Wife

Unveiling The Rarest Aura Colors A Comprehensive Guide
The Artistry Unveiled: Ryan Ottley Pencils Bring Ryan Ottley Pencils’ Vision to Life inThe Artistry Behind the Comics