Exporting Unity Games to Raspberry Pi: A Comprehensive Guide to Running Immersive Applications on Tiny Hardware
Exporting Unity Games to Raspberry Pi: A Comprehensive Guide to Running Immersive Applications on Tiny Hardware
Bringing high-performance Unity games to the Raspberry Pi—once considered impractical—has become a feasible, rewarding endeavor. This guide reveals the step-by-step process, technical insights, and practical considerations needed to deploy Unity experiences across Raspberry Pi models, from the A13 BCM2711-powered Pi 4 to the compact Pi Zero. With growing interest in low-cost gaming and educational computing, mastering this export workflow unlocks powerful potential beyond consumer entertainment.
Why Exporting Unity to Raspberry Pi Matters Raspberry Pi devices now run modern operating systems with sufficient processing power, memory, and GPU capabilities—making them viable platforms for running optimized Unity games. What once required high-end hardware is now accessible on affordable single-board computers. “This shift democratizes access to immersive interactive software,” notes Unity’s official documentation, emphasizing the platform’s flexibility for developers and educators alike.
Whether for prototyping, game development training, or lightweight interactive storytelling, Raspberry Pi offers a low-cost, energy-efficient environment to experience Unity’s full potential outside traditional gaming PCs.
Core Requirements: Hardware Compatibility and Software Preparation
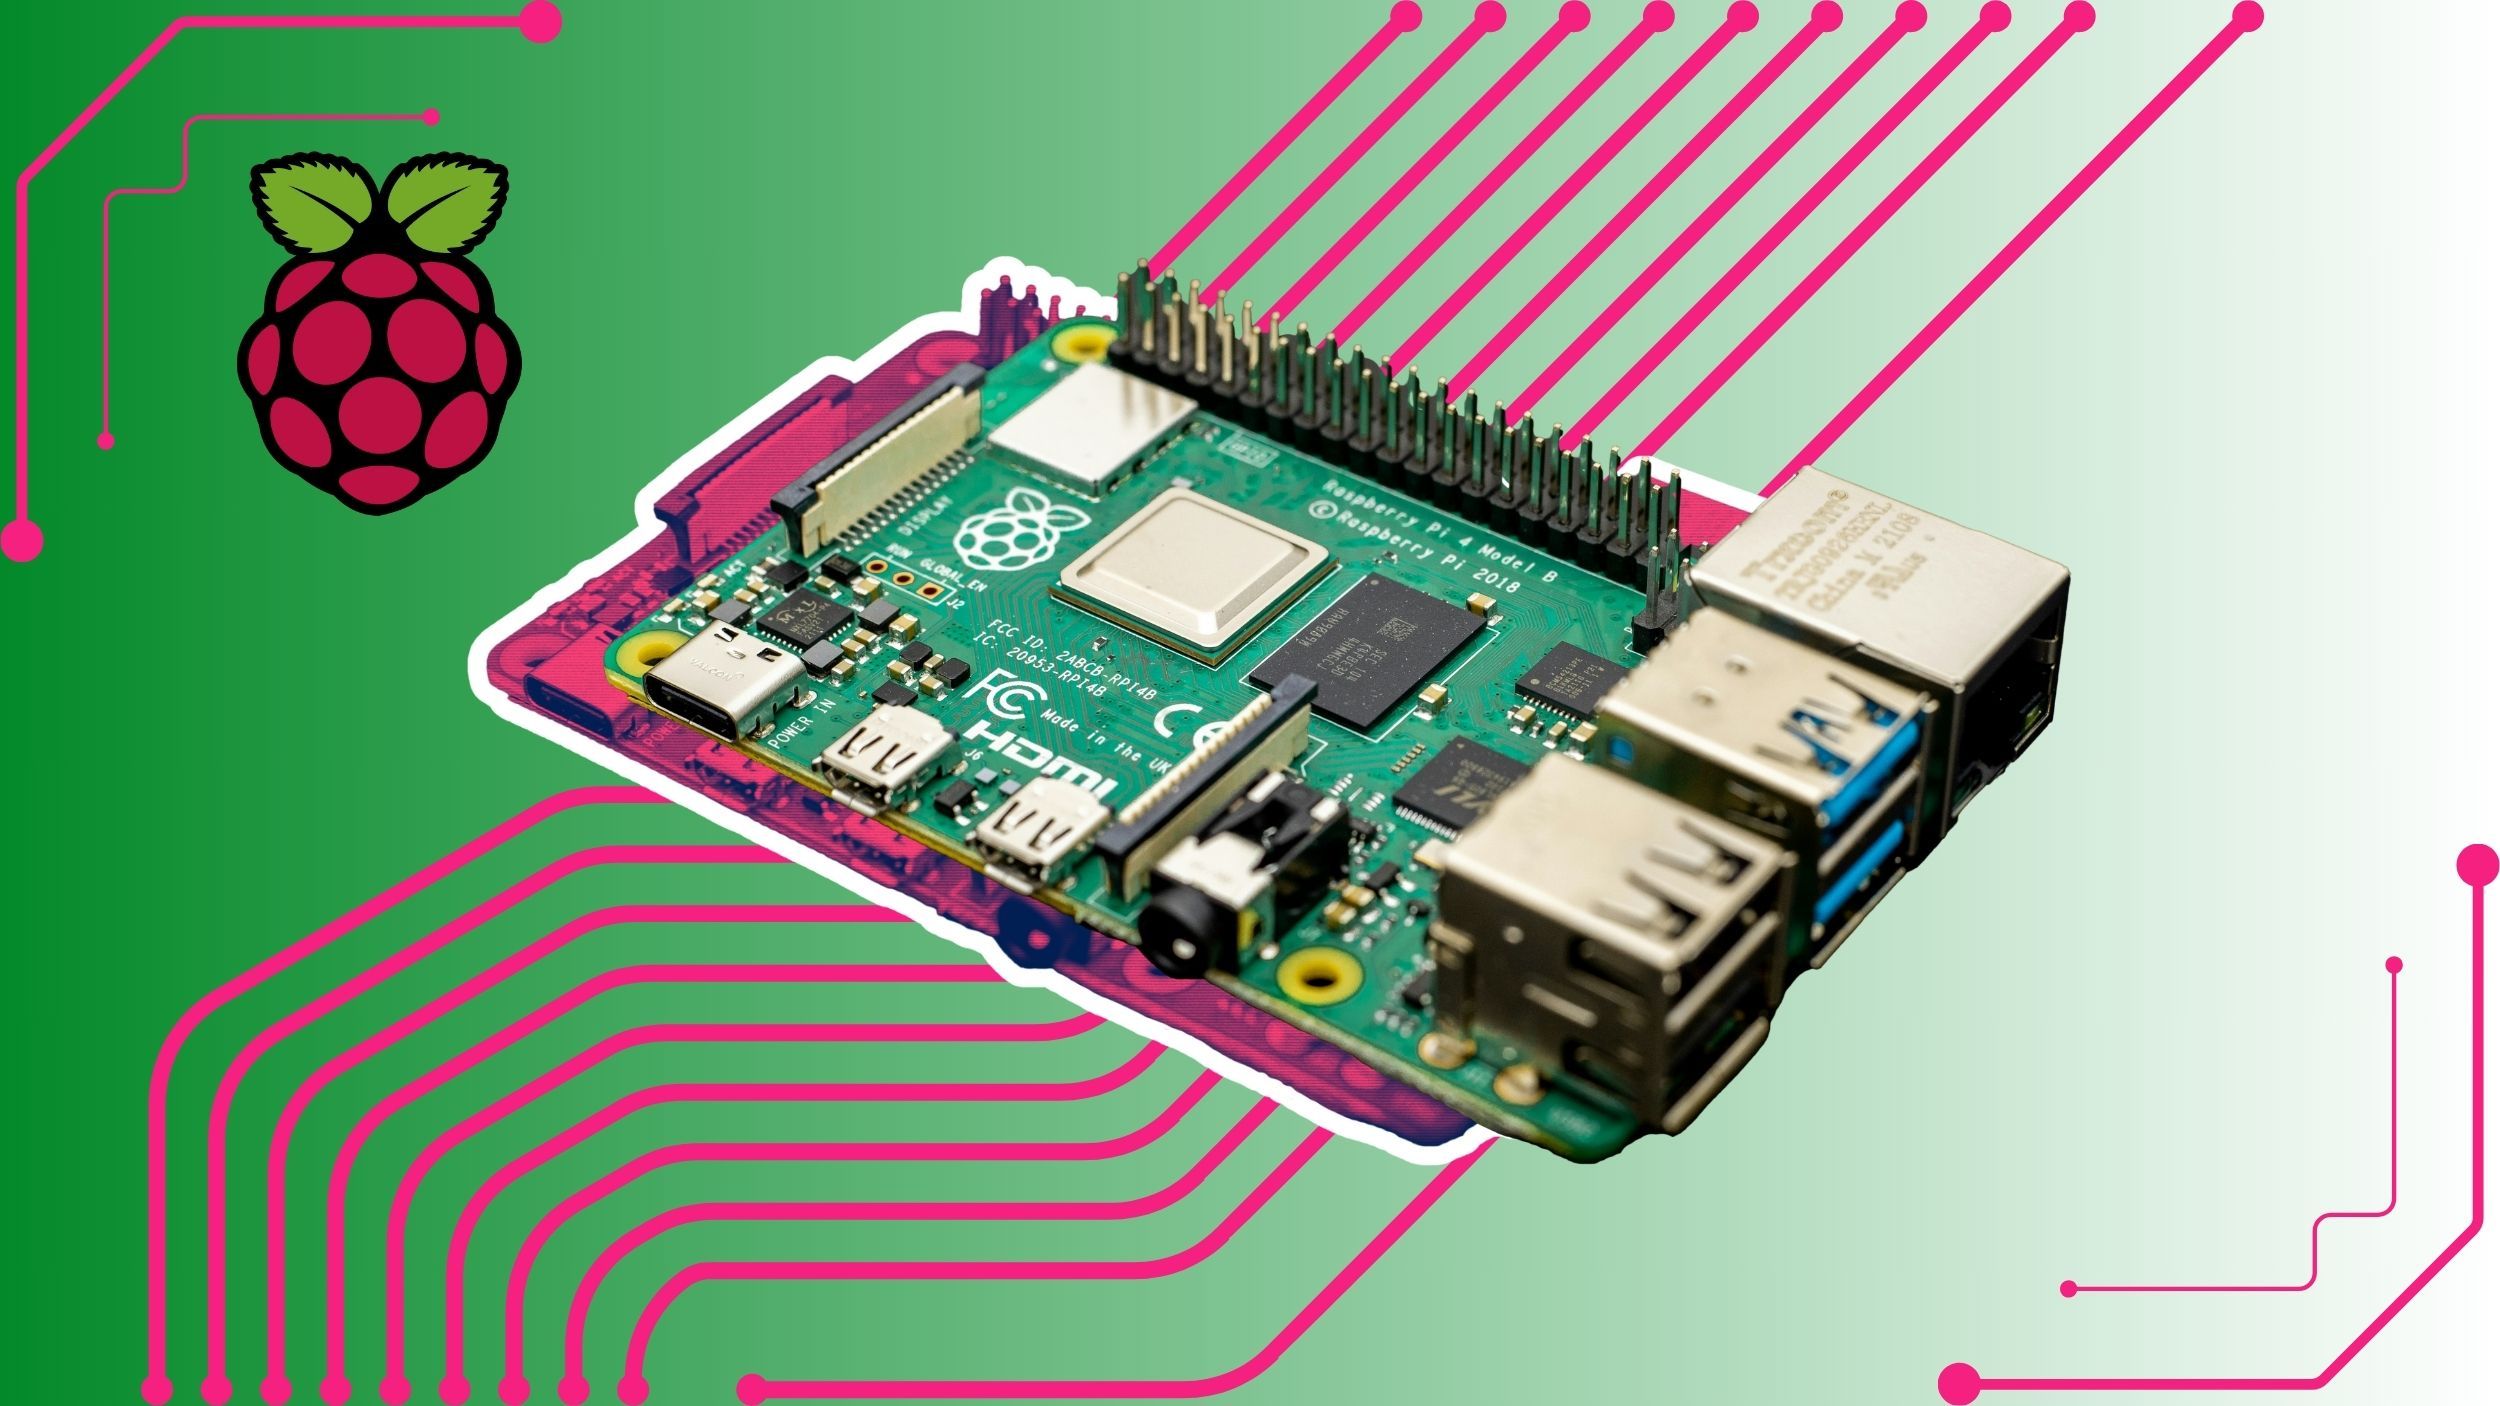
Successfully exporting Unity to Raspberry Pi begins with matching hardware capabilities to game demands. Key considerations include processor architecture, RAM availability, and storage type.Main Raspberry Pi models supporting most Unity builds include:
- Raspberry Pie 4 Bionx (1.5 GHz quad-core Cortex-A72, 4GB RAM, SDXM): Ideal for resource-heavy games requiring smooth frame rates and complex 3D rendering.
- Raspberry Pi Zero 2 W (1.44 GHz dual-core Cortex-A53, 512MB RAM): Suitable for lightweight, optimized games with simple graphics and minimal system overhead.
- Raspberry Pi Zero WH (64MB RAM): Limited use case, best reserved for discarded, non-real-time demos or prototyping due to memory constraints.
For optimal performance, disable anti-aliasing, reduce texture sizes, and profile assets directly in Unity’s Player Settings. Export targets should align with the Pi’s GPU capabilities; direct render optimization through Sprite Renderer and Lightweight Animator configurations minimizes runtime overhead.
Step-by-Step Export Workflow: From Project to Debugger
Exporting a Unity game for Raspberry Pi involves precise configuration at multiple stages—project settings, build options, runtime parameters, and debugging protocols.1.
Configure Project for ARM64 Built-ins Launch Unity and open Settings: - Select Platform: Raspberry Pi - Set Runtime: ARM64 - Under Player Settings, ensure Graphics API is set to OpenGL ES 2.0 or DirectX 12 (via third-party plugins), and Disable HDR to avoid GPU overreach. - Optimize Assets: Compress textures to ETC2 or PVRTC formats, limit 3D model count, and bake lighting into textures where possible.
2.
Build the APK or EXE (via Assembly Server) For Remote APK generation—used by Raspberry Pi’s remote debugging: - Use Unity Remote Desktop and the Assembly Server. - Specify the Raspberry Pi platform, setting the Application and Shortname fields, and assign the target build path. - Under Build Settings, choose Output Location: /opt/assemblies/VirtualDeviceRoot via remote tunnel.
- Enable “Build for Android” is disabled; instead, select “Raspberry Pi ARM64” explicitly. - Run the build command: `atenv -f /path/to/assembly_VirtualDeviceDebugger.jar unit4.run` This creates a signed APK/EXE compatible with Pi’s execution environment.
3.
Flashing the APK to R


Related Post

Finding The Perfect Lakers Jersey: Your Step-by-Step Guide to Stylish, Authentic, and Performance-Driven Gear
Meia Cassandra: A Journey To Excellence and Impact in Modern Society

The Strategic Power of Schoology Episd: Transforming Education Through Integrated Learning Pathways

Protective Edge Israel: Israel’s Cutting-Edge Defense System Shaping Modern Security Wisdom