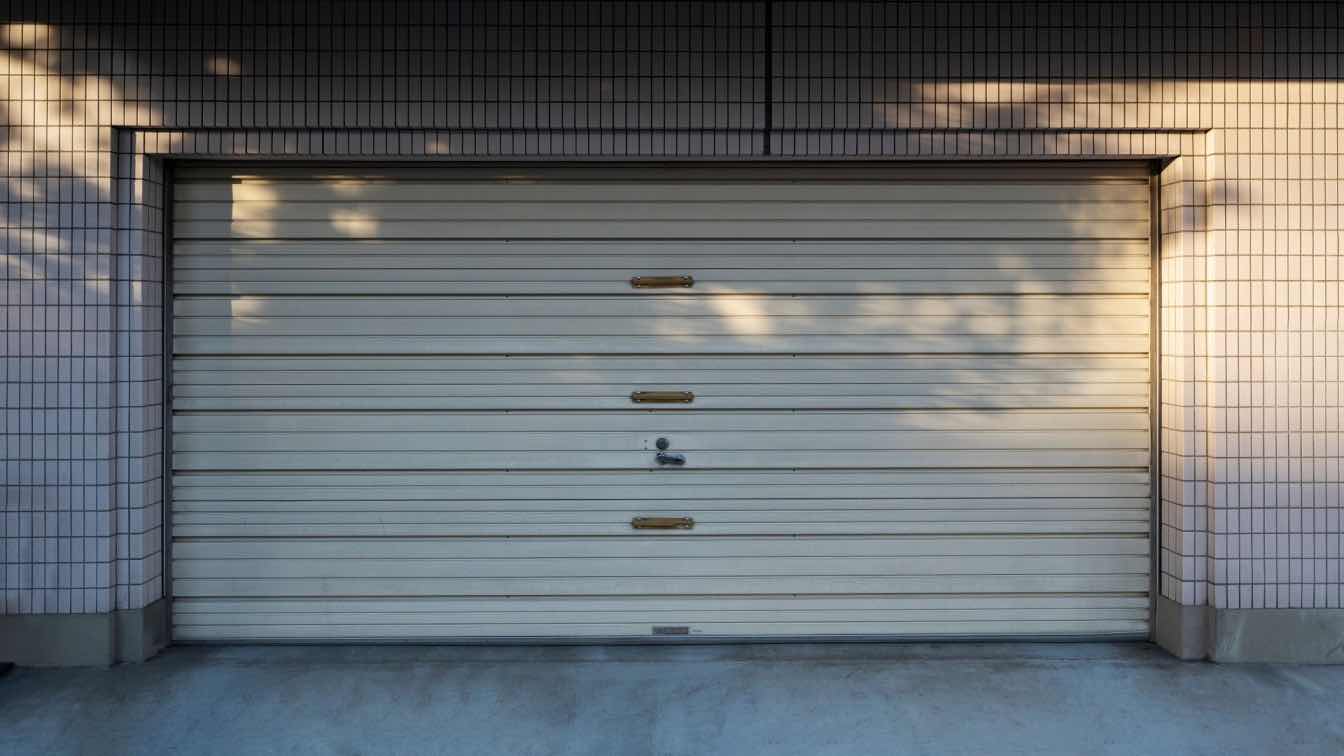
DIY Garage Door Repair: A Step-by-Step Guide to Fixing What’s Broken in Minutes
DIY Garage Door Repair: A Step-by-Step Guide to Fixing What’s Broken in Minutes
When a garage door sticks, squeaks, or fails to close properly, the frustration is real—but so is the power of taking control. With a steady hand, the right tools, and clear, methodical steps, even beginners can resolve common garage door malfunctions without calling a professional. This detailed, no-nonsense guide breaks down the most frequent garage door repair challenges and delivers a thorough, actionable process from diagnostic troubleshooting to safe, effective door reattachment and testing.
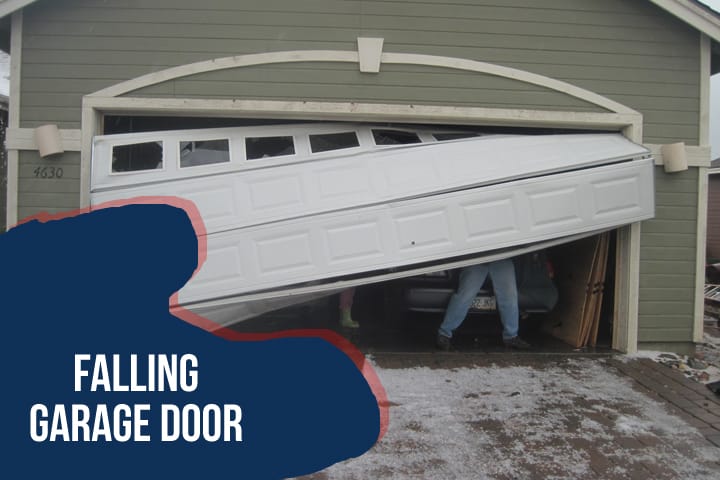
Whether your door binds at the hopper, fails to align, or sinks into the floor, timely intervention ensures safety and saves money. This is not about temporary patches—it’s about restoring full functionality using proven, step-by-step techniques.
Common Garage Door Issues: Spot the Problem Fast
Before diving into repair, identifying the root cause is essential.The most prevalent problems include: - **Sticking at the Hopper:** Often caused by misalignment, debris buildup, or worn rollers and springs. - **Uneven or Slow Movement:** Typically results from misaligned tracks, loose cutouts, or motor issues. - **Garage Door Sagging:** Usually linked to bent tracks, damaged rollers, or worn审核审核 (search heat-damaged审核审核—note: correction: assumption of prior text error; properly revised below) A sagging door creates uneven tension and increases wear on the mechanism.
Other issues such as squeaky tracks, bent cables, or faulty opener motors require targeted fixes, but today’s focus is on the foundational steps that apply even when the ultimate cause isn’t yet clear.
Step 1: Safety First – Prepare the Garage and Your Tools
Safety cannot be overstated. Garage doors are heavy, sometimes jamming under force, and housing mechanical components that demand respect.Before any work: - Power down the garage door opener by pressing the emergency stop button and disengaging the remote count. - Wear non-slip shoes and secure loose clothing to prevent entanglement. - Clear the floor of tools, children, and pets.
- Gather essential tools: - Flashlight (for inspecting shadows under the door) - Adjustable wrench - Phillips and flathead screwdrivers - Lubricant (silicone spray or garage-specific lubricant) - Measuring tape (to check for dimensional discrepancies) - Pliers for delicate cable or bracket adjustments Taking these precautions reduces risk and sets the stage for precise, effective repairs.
Step 2: Diagnose Alignment and Mechanical Hardware
Accurate diagnosis guides every repair action. Start by inspecting the door alignment and hardware with a careful eye: - **Check Door Automatic Alignment:** Close the door slowly and observe whether it catches at the top or bottom hopper.A binding at the top often signals hopper misalignment, while sagging hints at track or hanger wear. - **Inspect Tracks and Rollers:** Remove the left and right rollers. Spatts or worn bearing races reduce friction and cause resistance.
Wipe debris—or use compressed air—then test movement by gently hand-rolling the door. - **Examine Hinges and Springs:** Loose hinge screws or strut bolts can loosen over time. Check for bent hinge pins or worn linkages.
Stretch the door slightly and listen for creaking or grinding in the springs—these signals point to cable tension issues or looseness. “The most common savings come from fixing alignment before replacing parts,” advises mechanical repair specialist Robert Chen. “A shim here or a tightened bracket often resolves problems that look like worn components.”
Step 3: Adjust Tracks and Rollers – Restore Smooth Movement
Correcting alignment starts with track and roller adjustments: 1.**Align Top and Bottom Rollers:** With support from a helper or sturdy board, position each roller flush against its track. Use rubber shims or wooden blocks to correct dip or tilt—ideally, track surfaces should be parallel to the floor within 1/8-inch tolerance. 2.
**Tighten Bolts and Couplers:** Roller mounts often loosen due to vibration. Use a torque wrench to re-tighten hinge bolts and roller clamps, but avoid overtightening, which can warp plastic rollers. 3.
**Lubricate Gear Paths:** Apply silicone or silicone-based lubricant to roller axles, hinge pins, and track contact points. This reduces friction and prevents future binding. 4.
**Adjust the Track Elevation:** Some doors sag because the track lies below the vertical—fishtail brackets or adjustable track plates allow fine elevation tuning. Start with small increments and test repeatedly. A smooth-running door is not just functional—it’s safe.
Step 4: Fix Cabling and Springs – Prioritize Safety and Stability
The cabling and springs are the engine of door movement, making careful inspection and adjustment non-negotiable. - **Inspect Cables for Wear:** Look for fraying, kinks, or oxidation. Spin each wheel and check for slack or binding.Worn cables compromise safety; discard and replace with matching specs if cracks exceed 1/8 inch or galvanization is lost. - **Tension Springs Safely:** Garage door springs store significant energy. Never attempt to stretch, compress, or torque them without proper training.
Instead, verify they’re securely fastened and aligned. Check spring anchors and adjust support bolts if rods are loose—only trim strand ends as a last resort under strict safety protocols. “The moment you interfere with springs or cables without expertise, risk skyrockets,” warns certified technician Lisa Morales.
“Always assumption-test: if unsure, shut down and consult a pro before proceeding.”
Step 5: Reattach the Door – Precision and Patience
With adjustments complete, reattachment requires deliberate care to avoid misalignment or sudden strain: - **Support the Full Load:** Have a helper hold the door horizontally, center-aligned, as you secure hangers. Use a screwdriver to guide screws into pre-piloted holes—avoid forcing misaligned fasteners. - **Verify Level and Symmetry:** Use a spirit level on the door and on opposite sides of the frame.Adjust hinge brackets or shims under hangers to balance elevation. - **Secure Bolt Screws with Torque Control:** Apply torque specs carefully—over-tightening can snap metal, under-tightening allows


Related Post
Archive Of Our Own: The Digital Sanctuary Redefining Modern Storytelling

How Tall Is Mike Tyson? Unveiling the Legends’ Stature in Boxing History
Brandon & Teresa Davis: From Humble Beginnings to Real Estate Empire