Dark Souls 3 Map: Navigating the Labyrinth of Fire, Blood, and Fate
Dark Souls 3 Map: Navigating the Labyrinth of Fire, Blood, and Fate
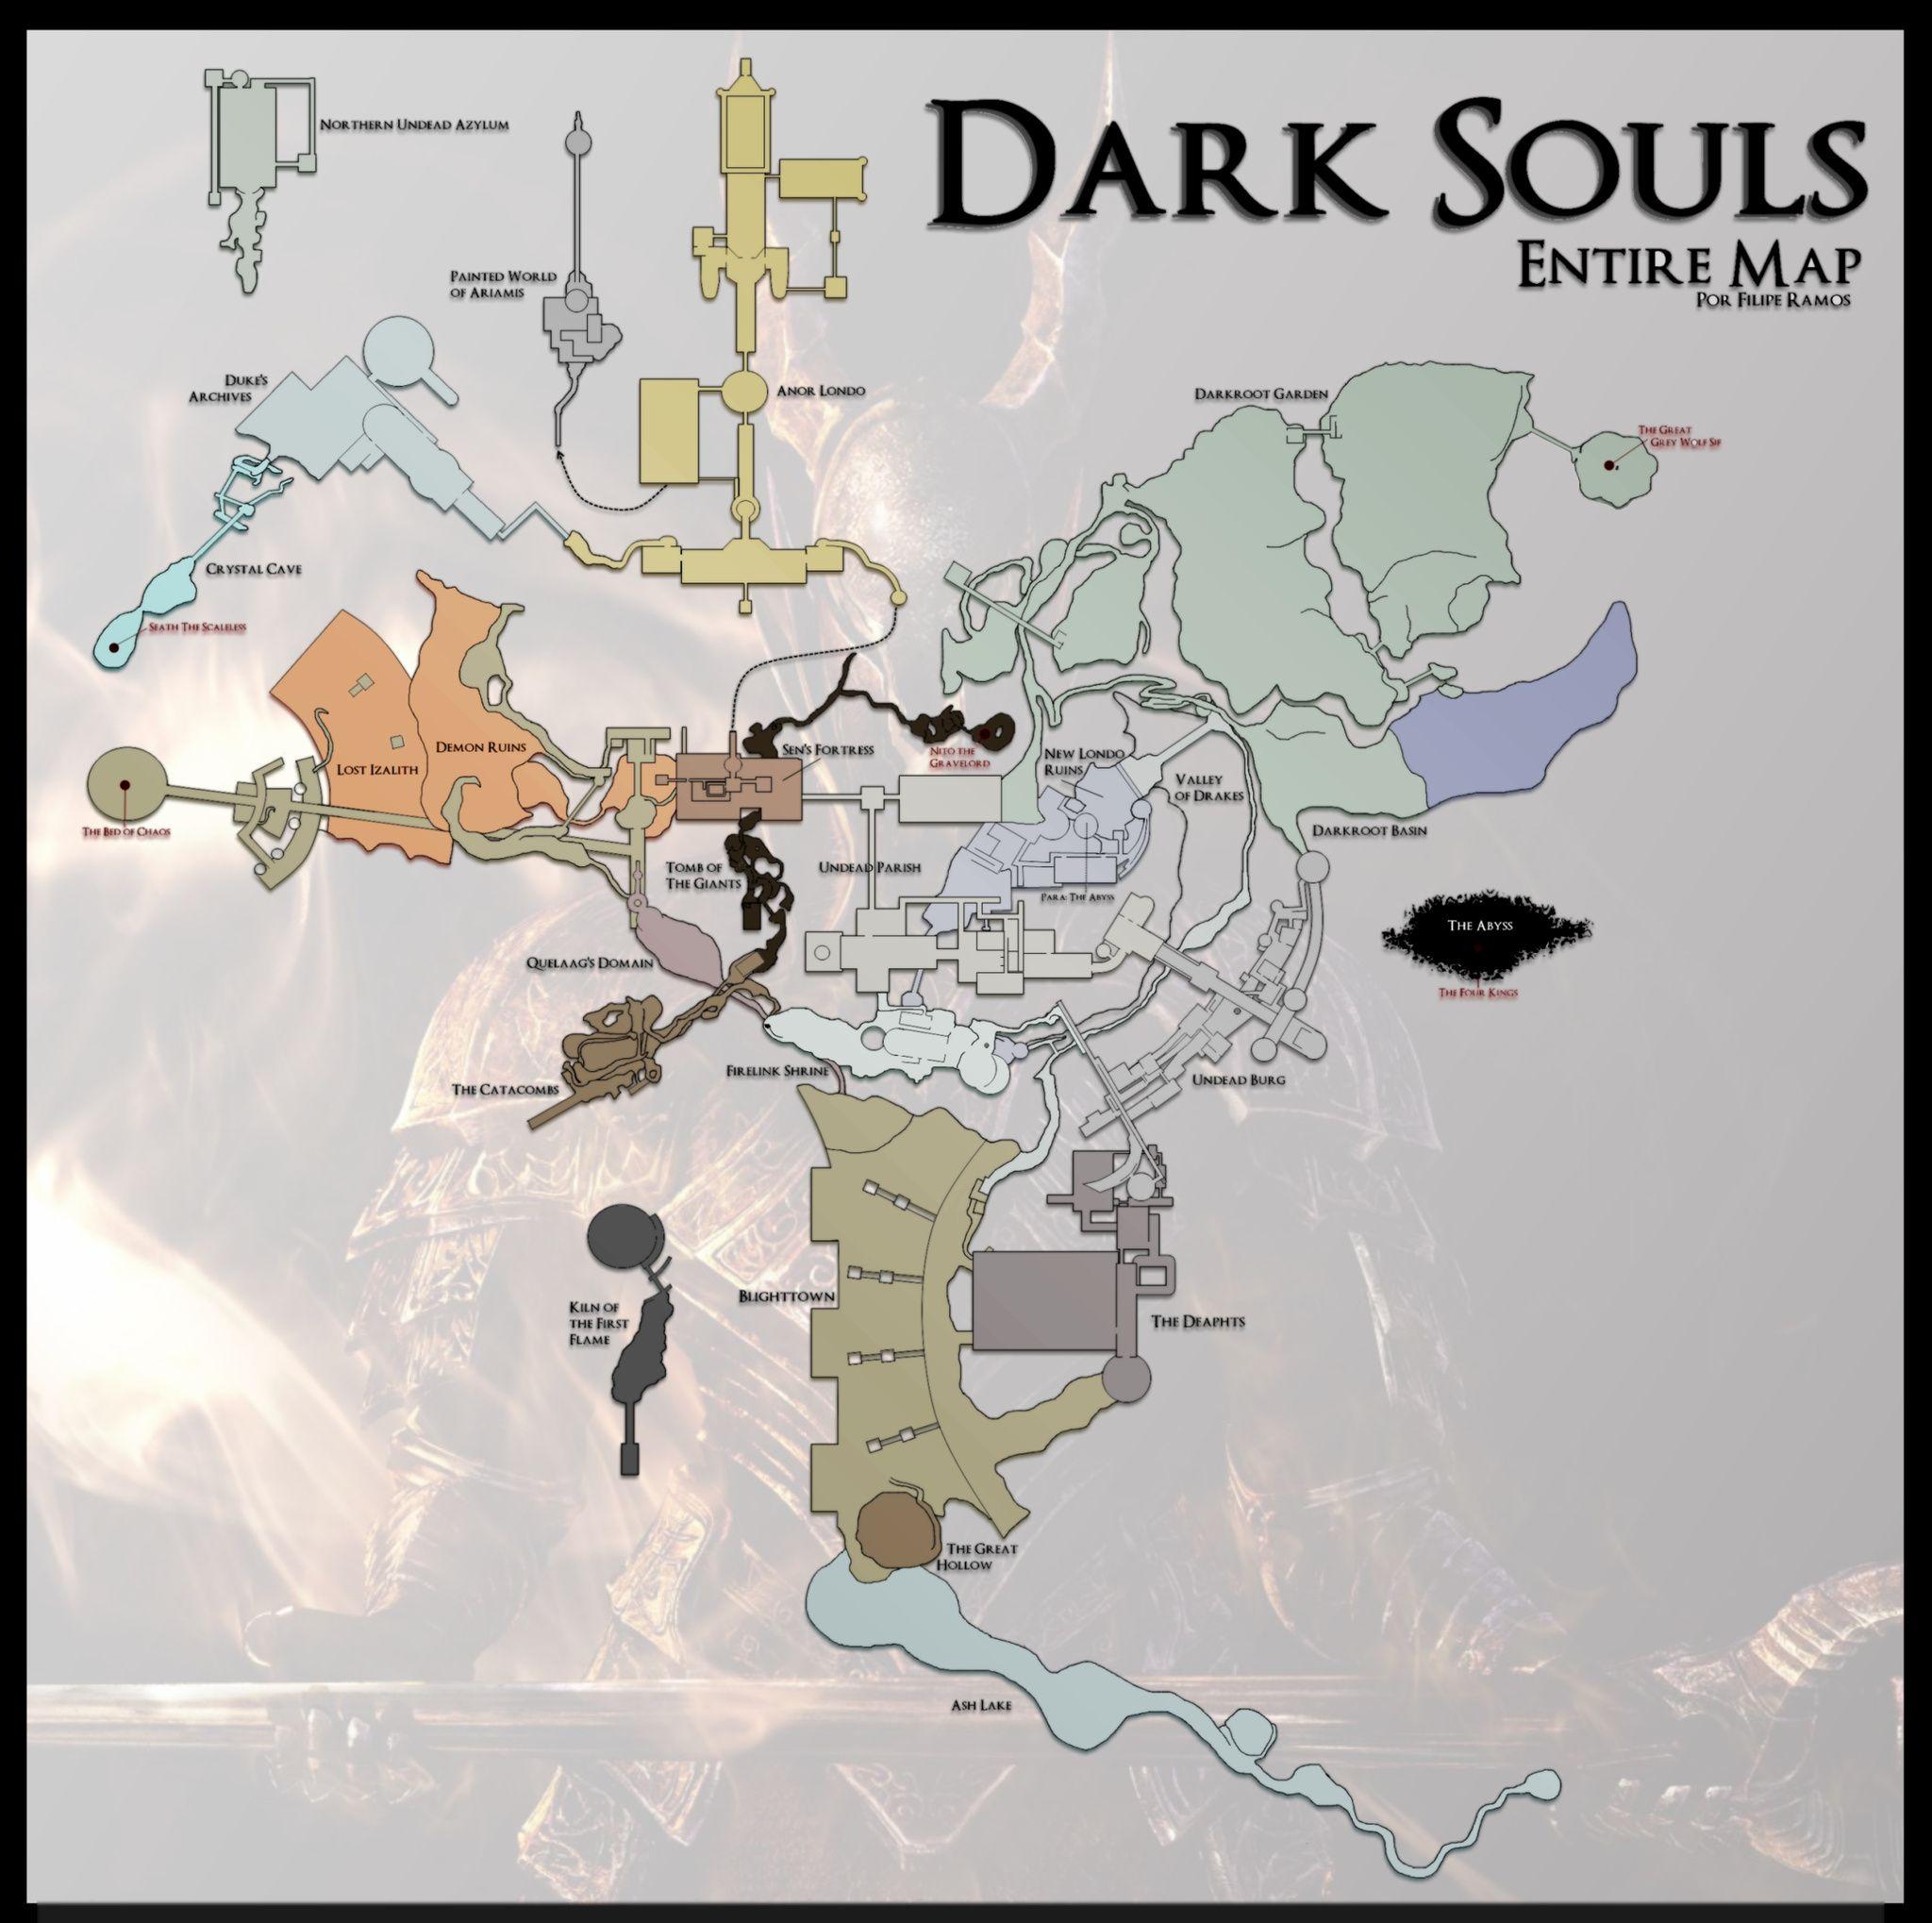
Beneath ink-black skies and crumbling gypsum ruins lies the unforgiving terrain of the Dark Souls 3 map—a sprawling, nonlinear world that demands both courage and foundational knowledge to traverse. Far more than a mere backdrop, the map functions as both a challenge and a labyrinth, guiding players through holds of legend where every corridor pulses with danger and opportunity. Understanding its geography, key zones, hidden pathways, and hidden mechanics transforms the experience from mere survival into a visceral journey through one of gaming’s most meticulously designed dark realms.
Central to mastering Dark Souls 3’s world is recognizing its distinct regions, each with unique aesthetics, enemies, and narrative weight. The map begins in the haunting Settlement of Tower Poppet, a decaying outpost where persistent foes enforce a constant test of endurance. Beyond lies the Siofra Labyrinth, a subterranean maze of echoes and crumbling tunnels housing critical lore and elite gear.
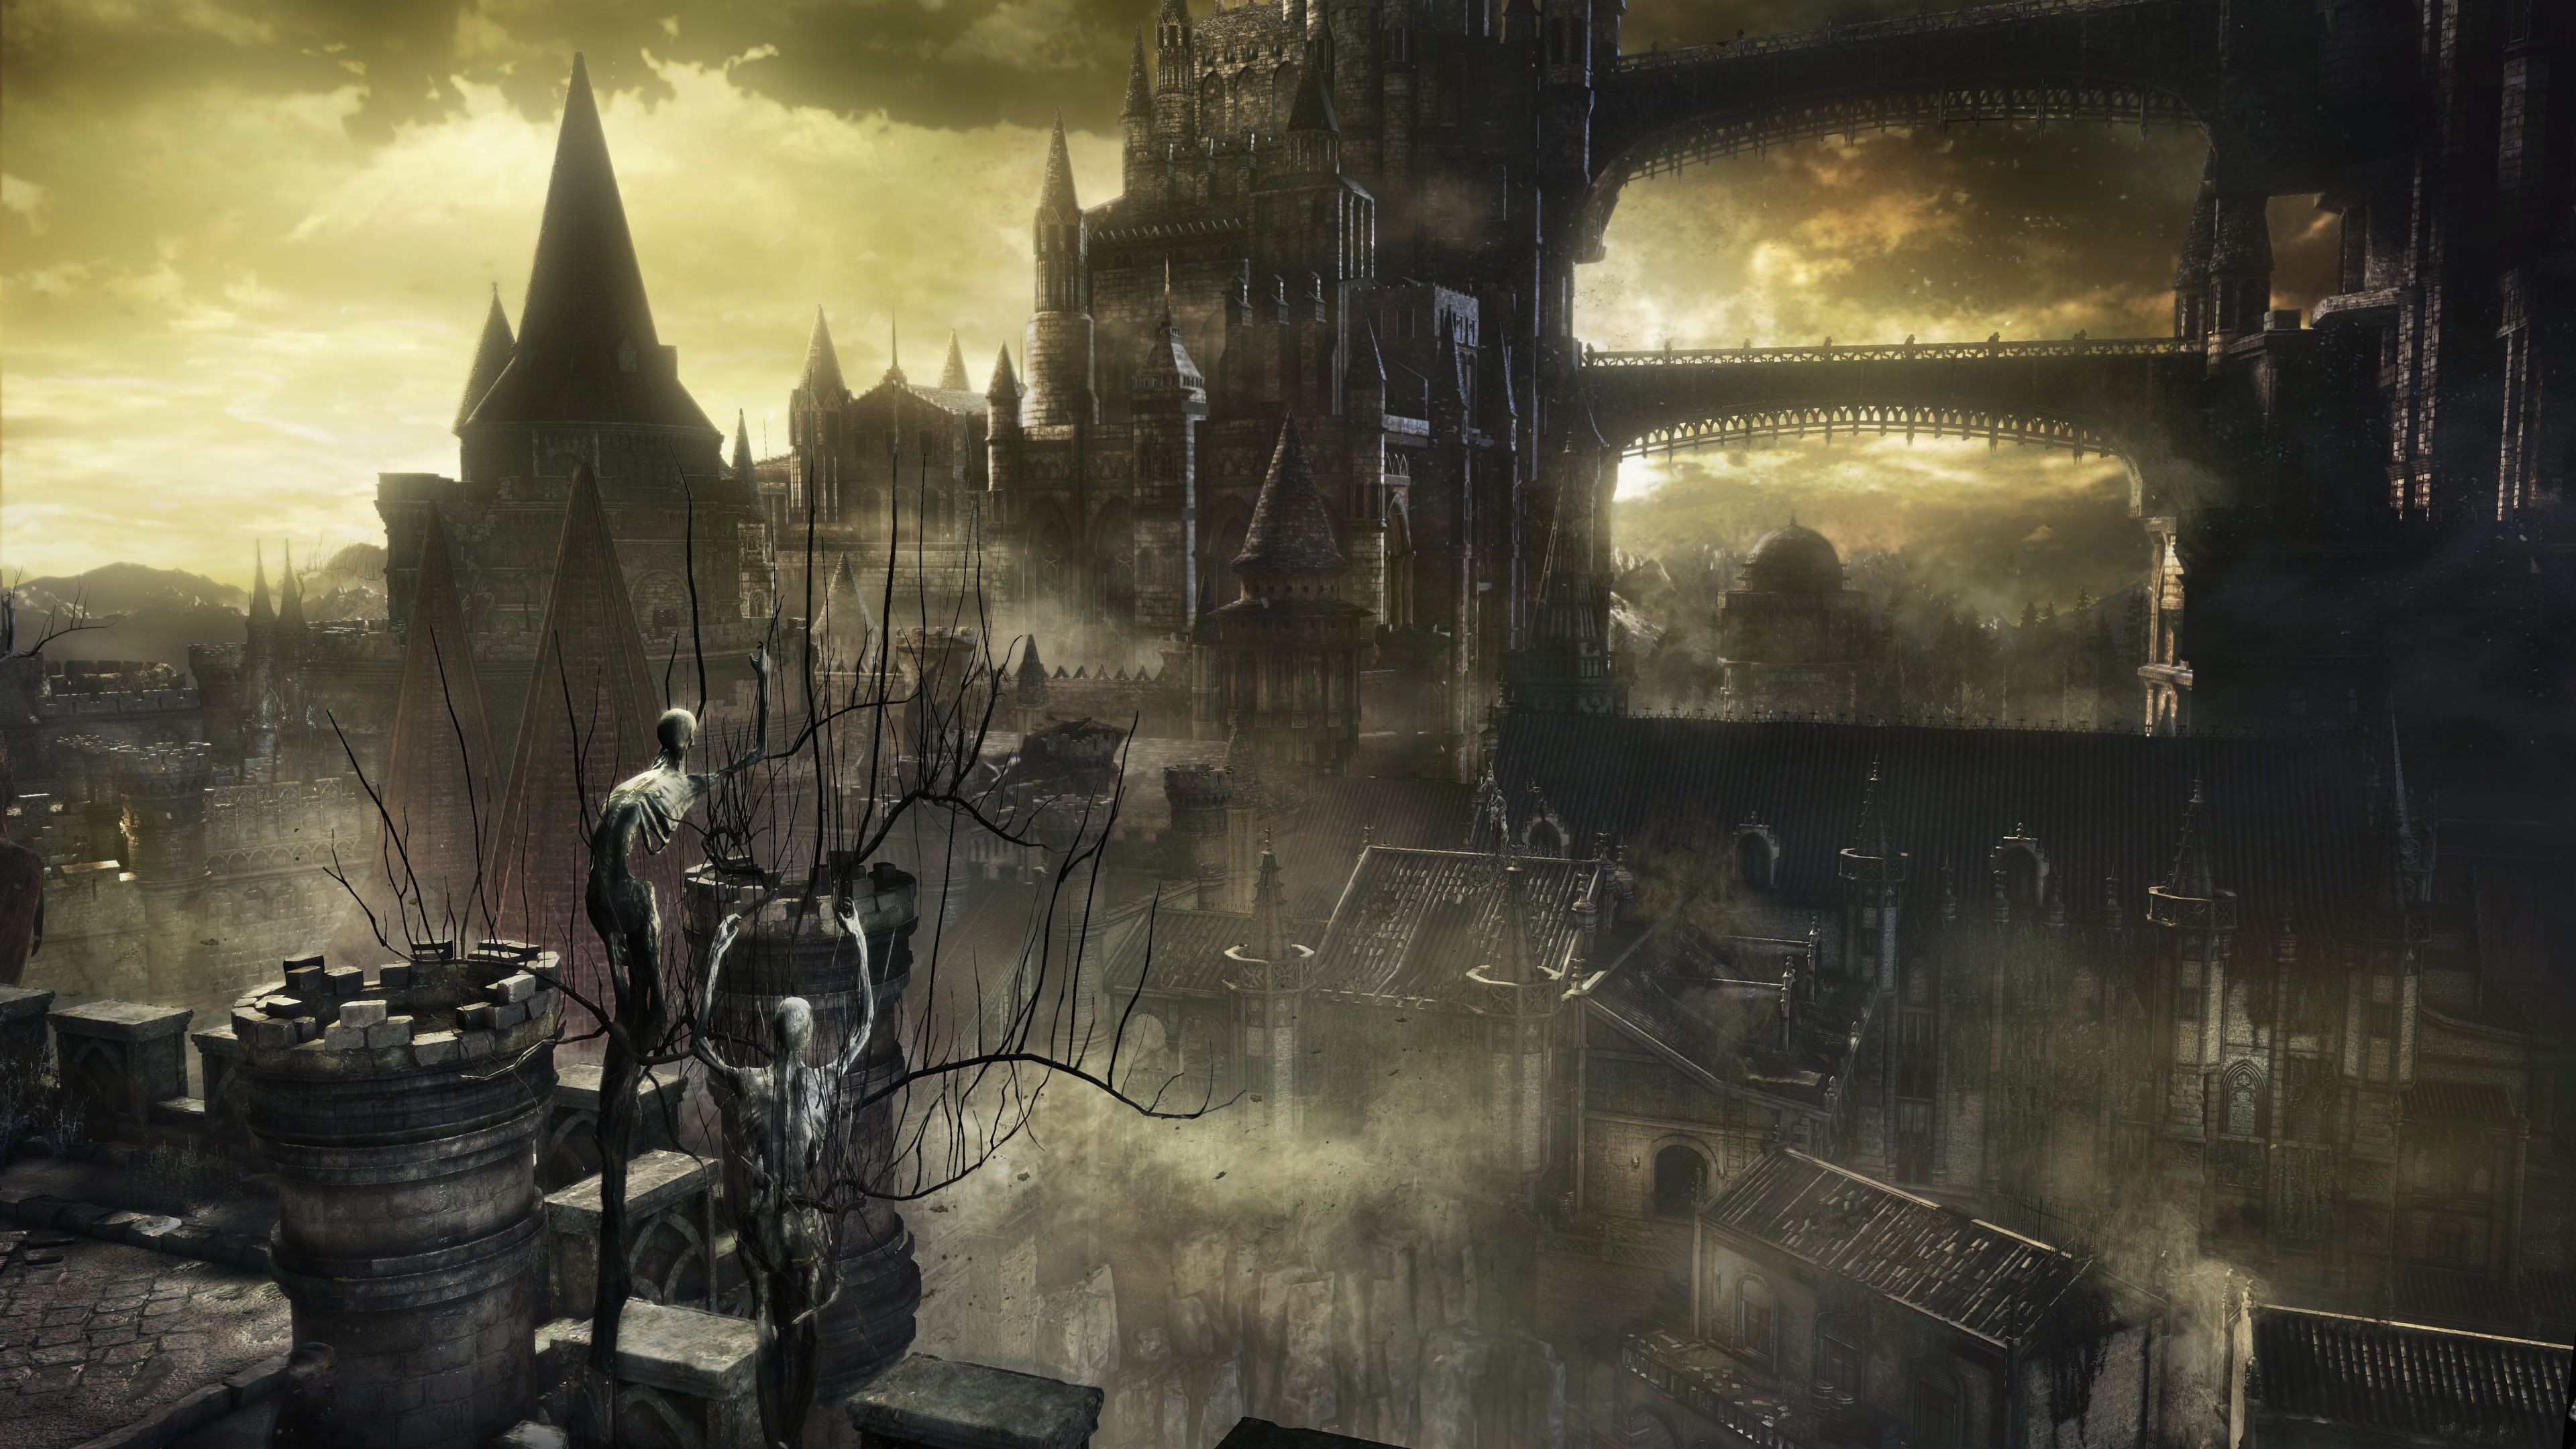
Looming over this underworld, the majestic Firelink Shrine—marked by its crimson sunburst—serves as both a moral compass and navigational anchor, drawing players toward the game’s core trials and final confrontation with the Fire Mantle.
The Hidden Pathways: Beyond Official Markers
Far from rigidly linear, the Dark Souls 3 map reveals layers of complexity through subtle environmental storytelling and hidden vistas. While official roads maintain a consistent tension, explorers quickly learn to read the landscape for concealed shortcuts and strategic vantage points.The Fjaerd intersperse secluded waypoints—such as the overgrown ruins atop the Siofra depth—offering rest and respite without sacrificing strategic positioning. These off-map zones demand vigilance; a misplaced step can strand a player in a maelstrom of fire and shadow, as the world punishes complacency.
Key to efficient navigation is understanding the map’s spatial logic:
- The Verticality of Danger: Elevation shifts dramatically—ascending to vantage points like the Rock of Catonna’s clifftops provides cover from unseen threats, while cascading down risks floods of fire and poisoned mist.
- Environmental Cues: Soot-stained walls, flickering torchlight, and distant battle cries help orient players despite the absence of traditional signage.
- Path Optimization: The Shrine’s circuit forms both a challenge and a shortcut; completing it rewards souls but wastes blood in a region where every hit costs.
The Settlement of Tallis, with its endless staircases and misleading terrain, exemplifies how deception shapes the journey—players must trust instinct over appearance.
Strategic Gameplay: Mapping the Round of Pillars
Survival in Dark Souls 3 depends not on memorizing every pixel, but on learning the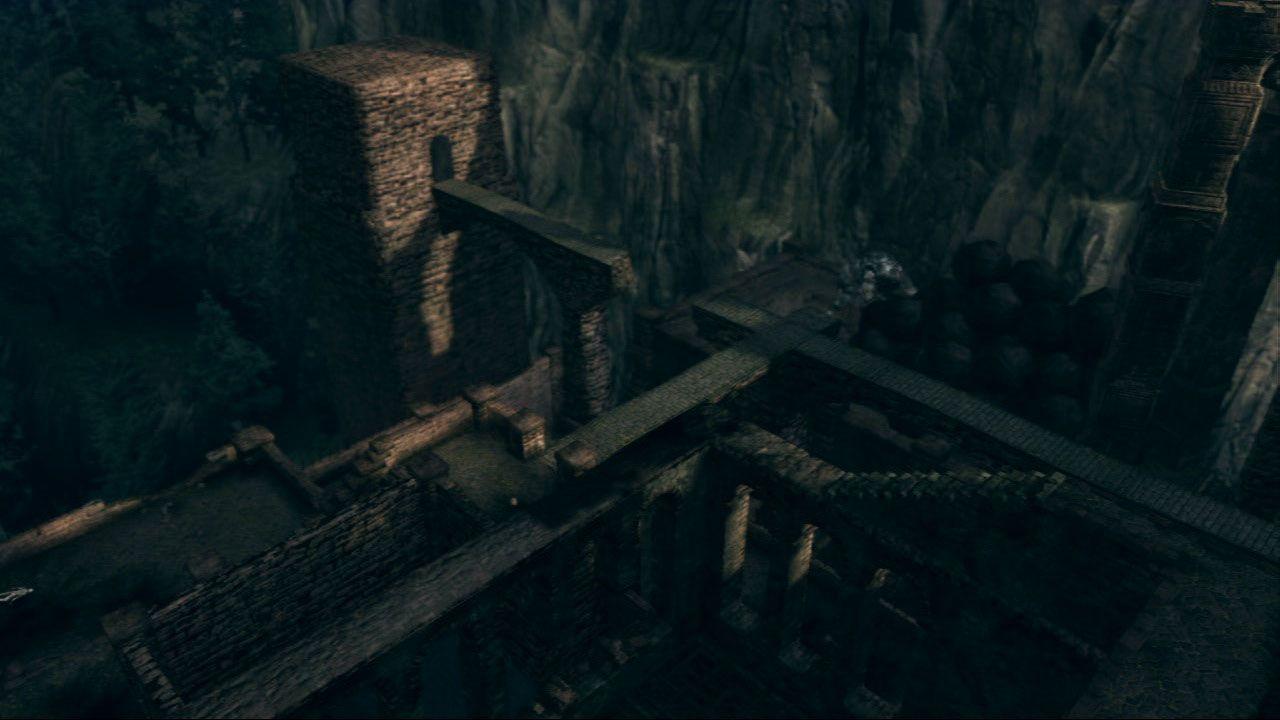

Related Post

Decoding Text Messages: What Your Partner Really Means Beneath the Words

USCIS Visa Bulletin Unlocked: What This Monthly Map Means for Immigrants Seeking Visas

The Rise of McDvoive: A Game-Changer in Sustainable Innovation


