Build Your Dream Ikea Pax Wardrobe: The Ultimate Step-by-Step Guide to Crafting Custom Storage
Build Your Dream Ikea Pax Wardrobe: The Ultimate Step-by-Step Guide to Crafting Custom Storage
Transforming any bedroom into a functional sanctuary starts with the perfect piece of furniture — and few combine style, durability, and customization quite like the Ikea Pax wardrobe. Known for its modular flexibility, versatile design, and room-proof performance, the Pax wardrobe empowers homeowners to build exactly the closet they need — whether accommodating a growing family, a style-conscious wardrobe, or limited space. This comprehensive guide breaks down the process of building your dream Ikea Pax wardrobe step by step, combining practical know-how, proven tips, and expert insights to ensure a successful, satisfying build.
Understanding the Pax Foundation: Modular Excellence in a Compact Frame
At its core, the Ikea Pax wardrobe is not just a piece of furniture — it’s a customizable storage system built around a proven modular framework.Originally designed as a versatile, deep-plan wardrobe with a standard 150 cm depth, Pax units can be stacked, combined, and extended to fit diverse wall spaces and user needs. With options for 125 cm, 150 cm, and 230 cm depth configurations — paired with adjustable shelf heights, multiple door styles, and integrated hanging rods — Pax delivers both flexibility and timeless function. “Pax’s true power lies in its adaptability — it evolves with your lifestyle,” notes interior design expert Maria Jensen from Urban Living Labs.
“Whether you’re outfitting a small apartment or a spacious bedroom, Pax provides the depth and versatility needed to maximize organization without sacrificing aesthetics.”
Key Components and Standard Offerings
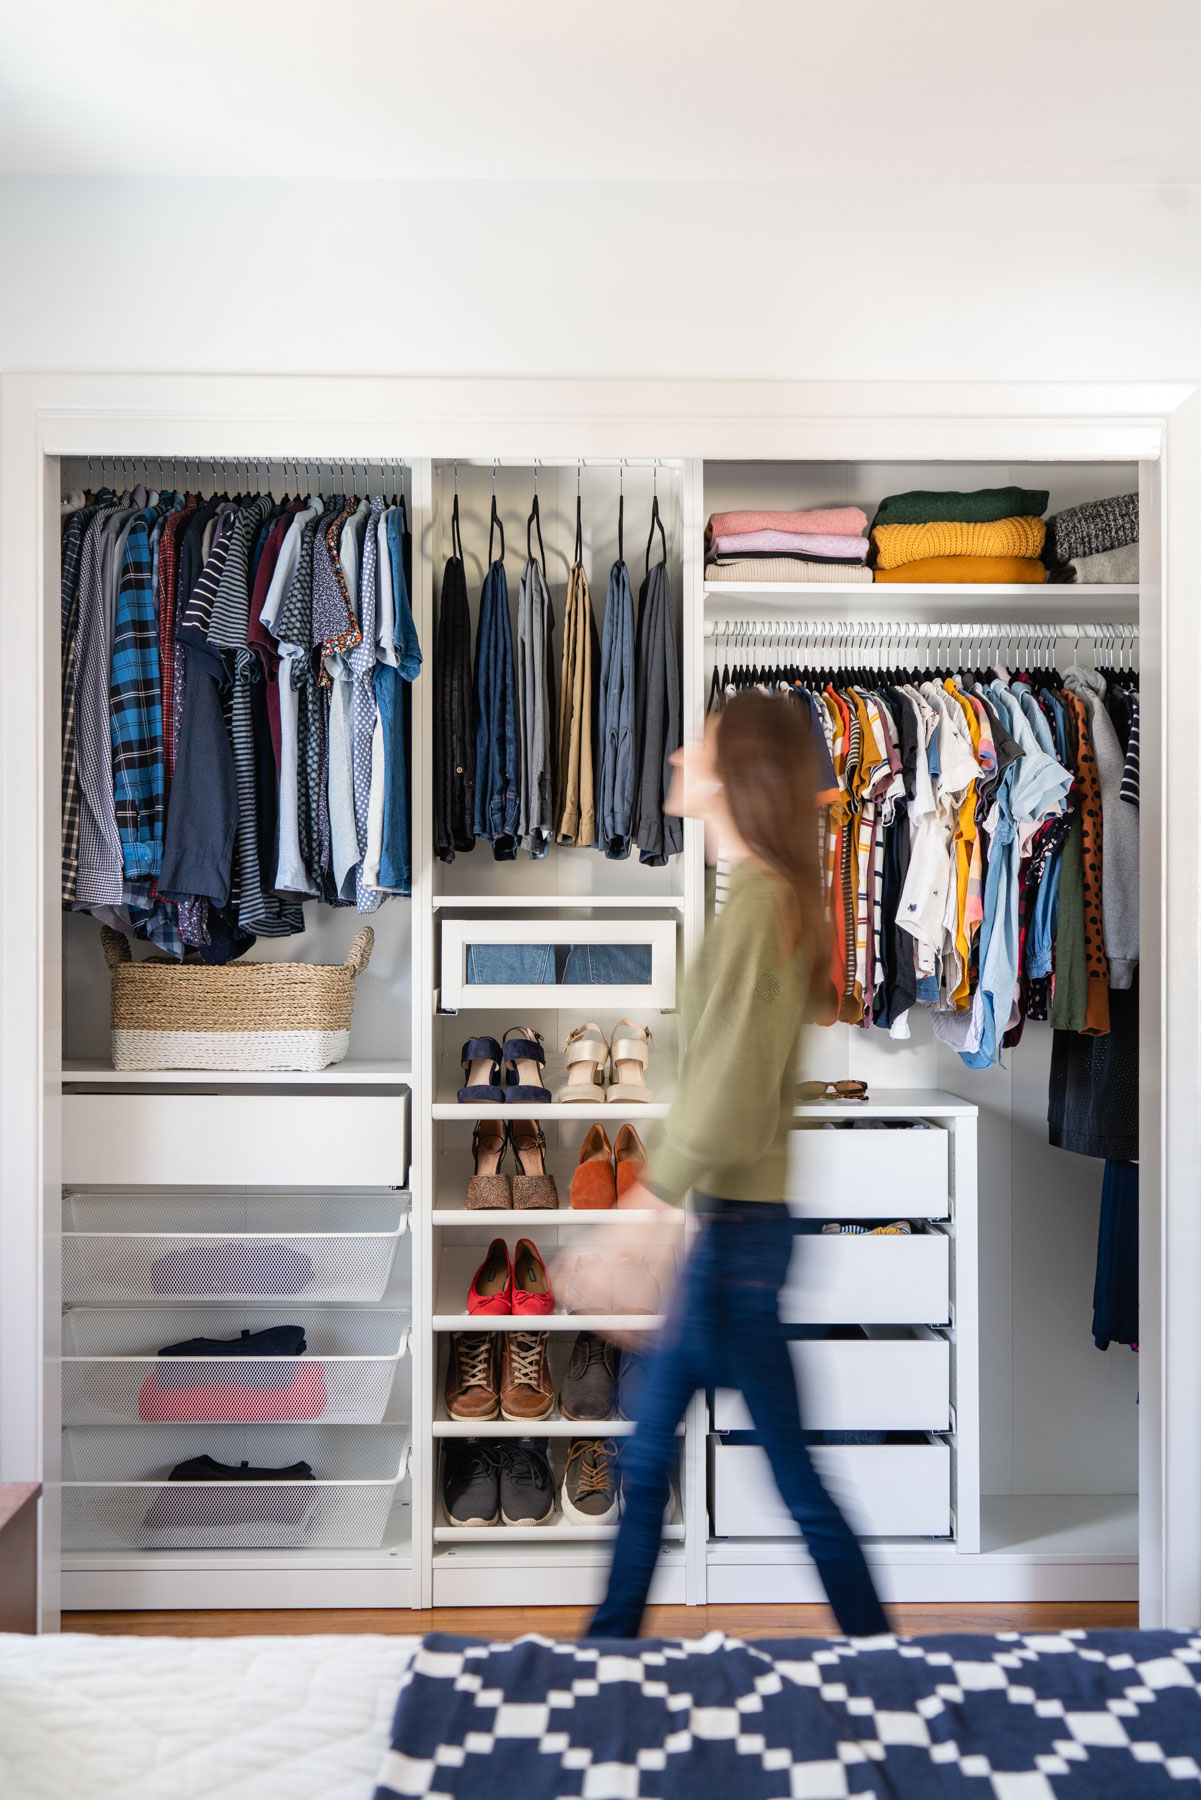
A complete Pax wardrobe system includes more than just deep units. The standard package typically features: - × Two deep wardrobe cabinets (150 cm or 230 cm deep, depending on layout) - One or two walk-in closet doors for enhanced privacy and access - Adjustable shelving to accommodate varying garment types — from folded sweaters to hanging clothes - Standard metal or painted steel profiles for durability - Synchronized sliding drawers for efficient depth utilization - Option to add lighting, mirrored doors, or integrated organization boxes Many components are interchangeable, allowing incremental upgrades as your storage needs change.Step 1: Planning Your Layout with Precision
Before purchasing or assembling, thorough layout planning is essential.Start by measuring your wall space — both width and available depth — ensuring enough room for cabinetry, doors, and a clear walking path of at least 90 cm. Use a simple floor plan or software like Ikea’s 3D Configurator to visualize dimensions. Consider these critical factors: - Wall orientation and load-bearing constraints - Accessibility — prioritizing frequently used items at waist height - Future needs — accounting for items like overcoats, shoes, or accessories - Integration with existing bedroom architecture, such as under-jack architraves or electric wiring “Accurate planning prevents costly mistakes,” advises carpentry consultant Lars Erikson.
“A millimeter discrepancy in measurement can throw off the entire setup — and module alignment is key.”
Step 2: Gathering Materials and Tools
Ikea supplies most components with clear part lists and labeling, but optional upgrades such as soft-close door latches, drawer slides, and extra handles should be sourced in advance. Professional tools typically required include: - Tape measure and spirit level - Phillips and flathead screwdrivers - Standard drill with bit set - Rubber mallet for precise alignment - Level and chalk line for straight installation Safety equipment — gloves, safety goggles, and sturdy footwear — protects during assembly, especially when lifting heavy parts or working at height. Ikea’s user manuals include detailed hardware specifications and torque guidelines to ensure secure, long-term stability.Step 3: Assembling the Frame with Engineering Precision
The framework begins with the vertical uprights and horizontal shelves, typically assembled indoors using measured torque settings to prevent misalignment or warping. Snap-together connectors and pre-drilled holes simplify the process but require careful attention to component alignment. Key assembly steps: 1.Fix the lower frame to the wall using wall-bracket mounts, leveled and secured with appropriate fasteners 2. Attach the upper frame, ensuring it remains plumb and parallel to the floor 3. Install fixed or adjustable shelves — recommended heights range from 45 to 65 cm above ground for optimal accessibility 4.
Insert deep drawers, ensuring smooth gliding and proper tracking with lubricated rails or felt pads For complex multi-unit builds, integrating synchronization diagrams allows seamless alignment between modules, minimizing gaps and misplacements.
Step 4: Adding Doors, Drawers, and Accessorizing
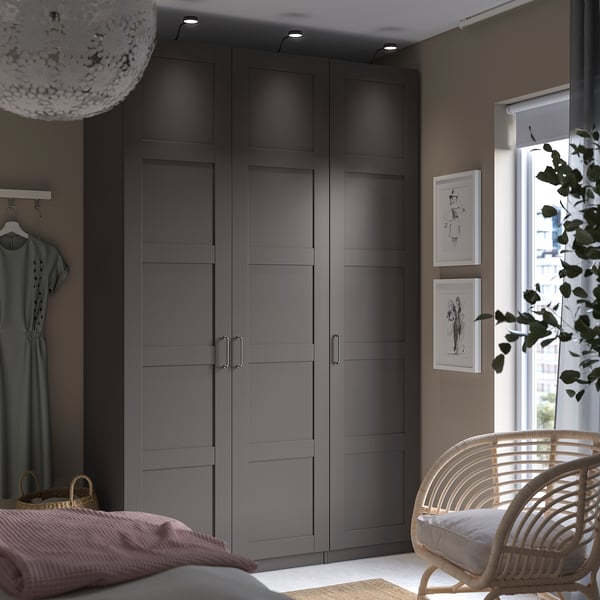
Doors and drawers define both function and form in a Pax wardrobe. Doors are mounted on hinges aligned with vertical guides; many unit variations include soft-close mechanisms to prevent slams and reduce wear.Customization options allow for: - Sliding doors (floor-saving) or hinged (traditional look) - One-way mirrors for hidden access - Frosted glass inserts for a sleek, modern aesthetic - Drawer liners and organizational dividers included in standard kits or available separately Large-depth units often feature full-length sliding doors with integrated locking systems, balancing security and space efficiency. Angles matter — adjusting hinge depth ensures doors open fully without binding, while calibrated drawer slides prevent imbalance during full extension.
Step 5: Final Touches and Lifestyle Integration
With the core structure complete, attention to finish and integration elevates the Pax wardrobe from functional to flawless.Sanding surfaces smooth and applying protective finishes — whether painted, varnished, or oiled — not only enhances appearance but also extends durability. Integration with bedroom elements completes the vision: - Built-in LED strips along edges for ambient lighting - Room divider panels or inserts for privacy - Integrated shoes shelves, hanging organizers, or glass doors with viewing windows - Utilizing under-bed space with pull-out drawers or excellent-curtain organizers The result is a unified storage solution that complements decor while solving practical challenges. Montreal-based interior designer Camille Rousseau emphasizes: “A well-designed Pax wardrobe doesn’t just store clothes — it transforms how you live.
Every measurement, every hinge, every chosen detail shapes daily ease and long-term satisfaction.”
Build Your Dream Ikea Pax Wardrobe: Execution Meets Intention
Assembling an Ikea Pax wardrobe is more than a DIY project — it’s a deliberate act of crafting personal space with precision, durability, and style. From meticulous planning through final styling, each step matters in building a wardrobe that grows with you. With guided clarity, proven tools, and a focus on realistic functionality, even first-time builders can create a backdrop that feels both custom and thoroughly thought-out.In the evolving landscape of smart living, the Ikea Pax wardrobe stands as a timeless benchmark — combining Scandinavian simplicity with scalable adaptability. When executed with care, the dream of a perfectly ordered closet becomes not just a possibility, but a reality.


Related Post
Navigating Public Records: A Deep Dive into the Escambia County Clerk of Court Operations
What Is Time In Georgia, USA? The Precise Rhythm That Governs Life Across the Peach State
Watch Argentinian Football: The Definitive Live Streaming Guide for Global Fans


